Follow Me On Social Media!
How to Knead Dough: Master the Art of Soft, Fluffy Bread
Introduction to How To Knead Dough
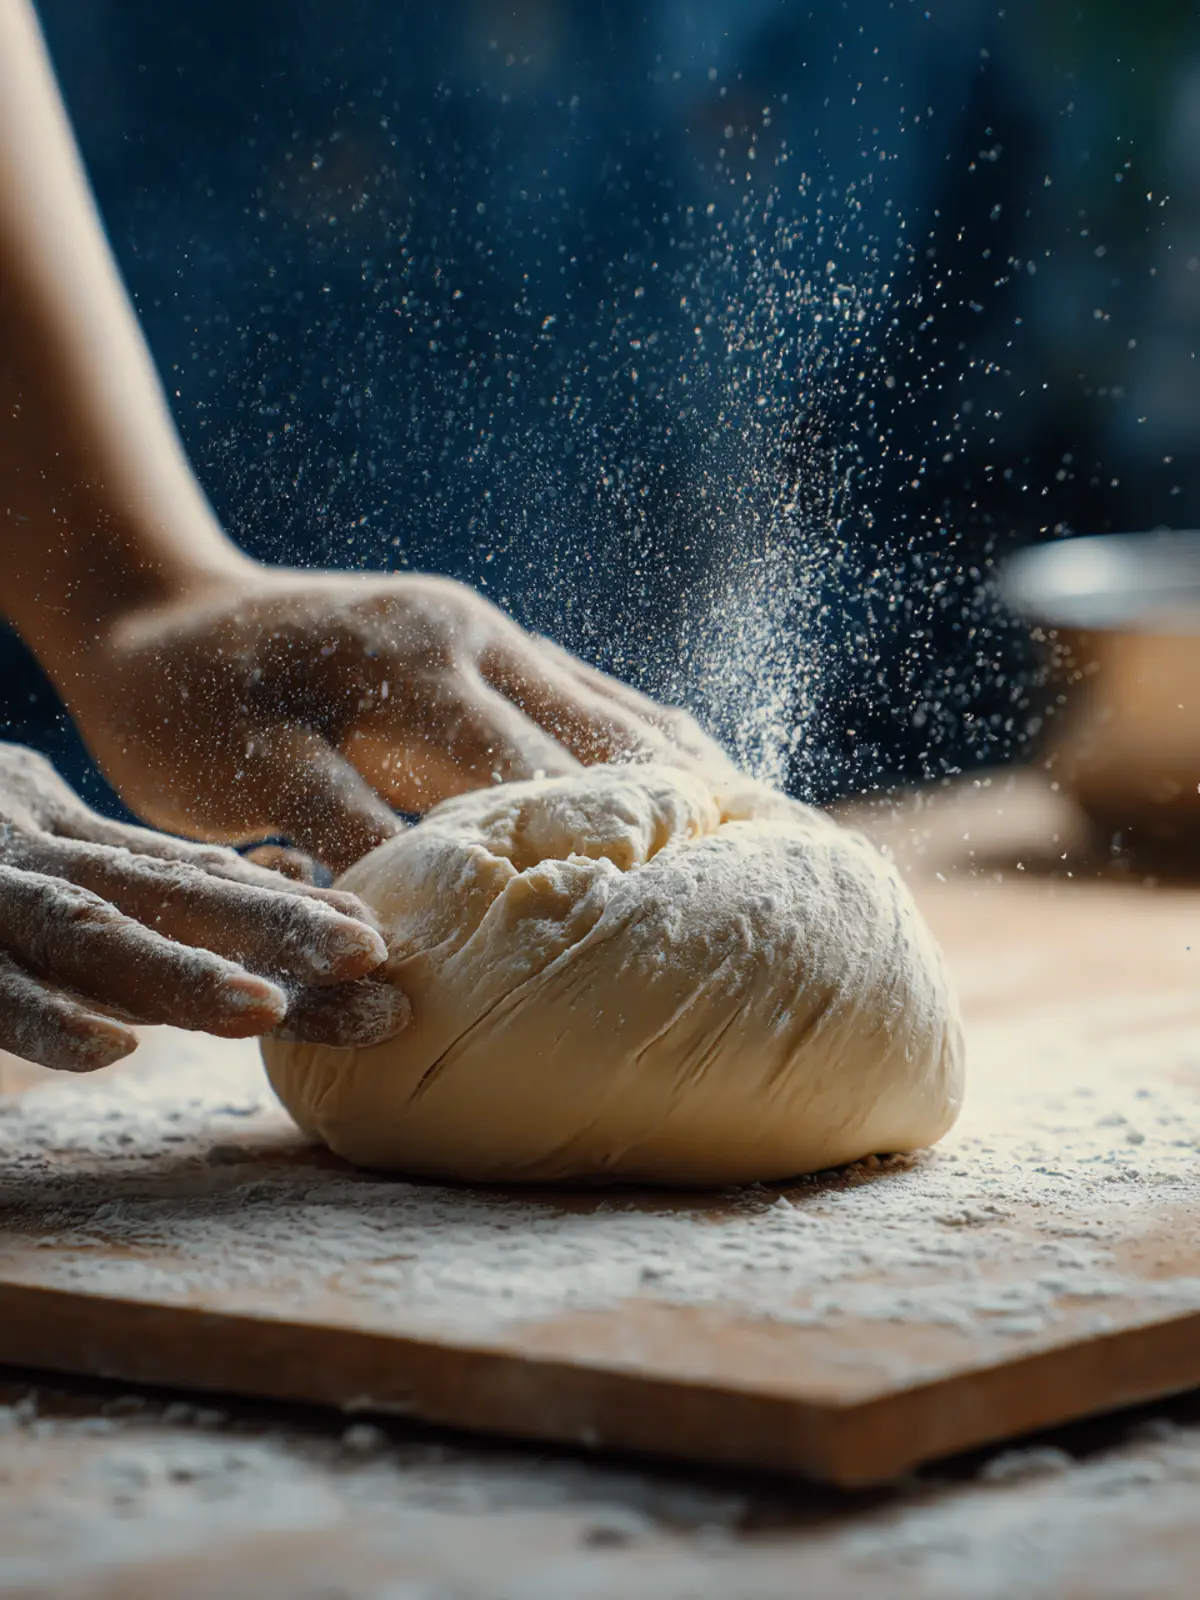
Imagine standing in your kitchen, flour dusting your countertop like a fresh snowfall, and the aroma of warm bread enticing your senses. This delightful experience often begins with understanding how to knead dough. Kneading is not just a step in the bread-making process; it’s an essential technique that transforms simple ingredients into a masterpiece. By skillfully working the dough, you’re developing the gluten that gives bread its characteristic structure and chewiness.
Once you master the art of kneading, the satisfaction of watching your dough rise and later enjoying a warm loaf will be all the more rewarding. The rhythmic motion of kneading—pressing, folding, and turning—creates a connection between you and your ingredients. This hands-on approach not only enhances your baking skills but also provides a moment of mindfulness in your busy life.
The Importance of Properly Kneaded Dough
When it comes to baking, the quality of your dough can significantly impact your final product. Properly kneaded dough is crucial for achieving that perfect texture. Here’s why understanding how to knead dough matters:
- Gluten Development: Kneading aligns gluten strands, giving your bread structure. Insufficient kneading results in a dense loaf that lacks that airy texture we all love.
- Flavor Integration: Kneading helps evenly distribute yeast and other ingredients, allowing for consistent flavor throughout the dough.
- Fermentation: The action of kneading activates enzymes in the dough, which aids in fermentation, leading to a better rise during baking and an enhanced flavor profile.
- Shaping Ability: Well-kneaded dough is more elastic and easier to shape, whether you’re crafting loaves, rolls, or artisan-style bread.
Throughout this guide, we’ll dive deeper into each step of the kneading process, ensuring that you learn not just the “how,” but also the “why,” enhancing your journey into the world of baking. So, roll up those sleeves and let’s get kneading!
Key Ingredients for Kneading Dough
Kneading dough is an art form that transforms simple ingredients into a delightful culinary experience. Each key ingredient plays a vital role in achieving that perfect texture and flavor, and understanding their significance can elevate your baking game.
-
Flour: The backbone of any dough, I prefer all-purpose flour for its balanced protein content. It provides the ideal structure, but if you’re feeling adventurous, bread flour can give your dough a chewier bite.
-
Water: Hydration is crucial. The quantity of water affects the dough’s consistency. I usually opt for lukewarm water to activate the yeast and make the process smoother.
-
Yeast: This is where the magic happens! Active dry yeast works beautifully for a rich rise. Just remember to let it bloom before mixing—trust me, this extra step is worth it.
-
Salt: While it may seem small, salt enhances flavors and strengthens gluten. I recommend using fine sea salt because it dissolves easily and distributes evenly.
-
Sugar: A touch of sugar not only sweetens your dough but also feeds the yeast. This creates a lovely golden crust as your dough bakes.
Knowing these ingredients allows you to experiment confidently. Just think of kneading dough as your ticket to endless possibilities in the realm of baking!
Why You’ll Love This Dough Kneading Technique
Learning how to knead dough opens up a world of delightful possibilities in the kitchen. Imagine standing back to admire your soft, elastic dough, knowing that you created it from scratch. This technique is not just about the physical act of kneading—it’s a meditative practice that connects you to the ingredients and the process, making each loaf or pastry feel truly special.
Here’s why this method will have you kneading with love:
-
Consistency: The beauty of kneading lies in how it develops gluten, which provides structure to bread. This technique ensures that every batch has the perfect chewy texture—a satisfying experience for both the baker and those indulging in your creations.
-
Engagement: Kneading can be a hands-on way to relieve stress. As you push, fold, and stretch the dough, you’re not only preparing a base for your favorite recipes but also allowing yourself a moment of mindfulness.
-
Versatility: Whether you’re making pizza, bread, or pastries, knowing how to knead dough effectively sets the foundation for countless recipes. Each technique you master expands your culinary repertoire.
Soon, you’ll find yourself looking forward to dough kneading instead of seeing it as just another step in the baking process. It’s a step that brings joy, satisfaction, and—best of all—delicious results!
Tips for Mastering the Kneading Process
Kneading is an essential skill that can elevate your homemade dough from good to spectacular. Every time I get my hands in the dough, it’s like unwinding after a long day; there’s something therapeutic about it. If you’re eager to learn how to knead dough like a pro, here are some practical tips to guide you through the process.
Understand the Purpose
Kneading develops gluten, giving your dough that perfect elasticity and chew. Not sure how much kneading is enough? A good reference is that your dough should be smooth and elastic, bouncing back when gently pressed.
Don’t Rush the Process
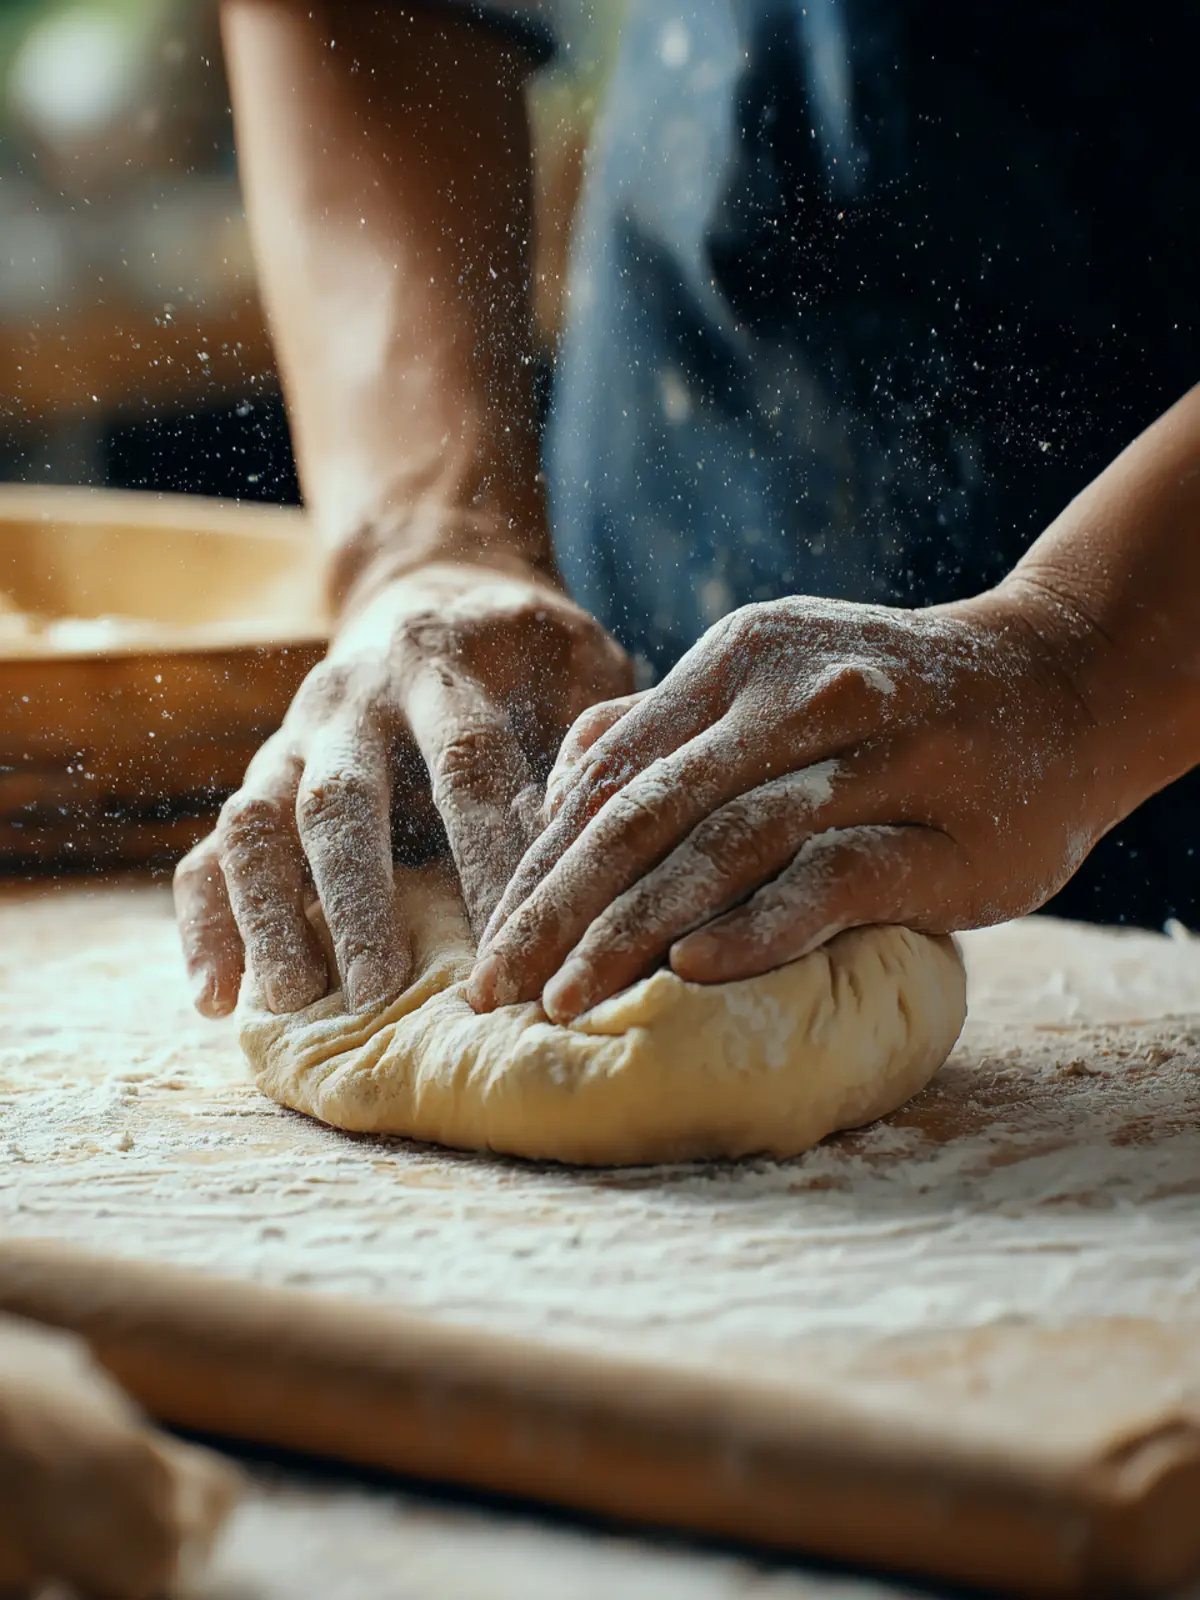
Take your time. Kneading should feel like a rhythmic dance. Aim for at least 8-10 minutes of kneading, using your palms to push and fold the dough. If it becomes too sticky, sprinkle a small amount of flour, but be careful not to overdo it.
Test for Readiness
After kneading, test the dough using the “windowpane method.” If you can stretch a small piece of dough thin enough to see light through without tearing, you’ve achieved a good gluten structure.
Listen to Your Dough
Trust your instincts. If your dough seems too dry or too wet, adjust accordingly. Dough is like a mood; sometimes it needs a bit of tweaking!
By keeping these tips in mind, you’ll transform your dough-kneading experience and start creating delicious baked goods that are sure to impress. Happy kneading!
Time Breakdown for Kneading Dough
Kneading dough is a vital step in any bread-making journey, transforming simple ingredients into a cohesive, elastic mixture that will rise beautifully. Understanding the time it takes for this essential process will set you up for success in your baking endeavors.
Kneading Time
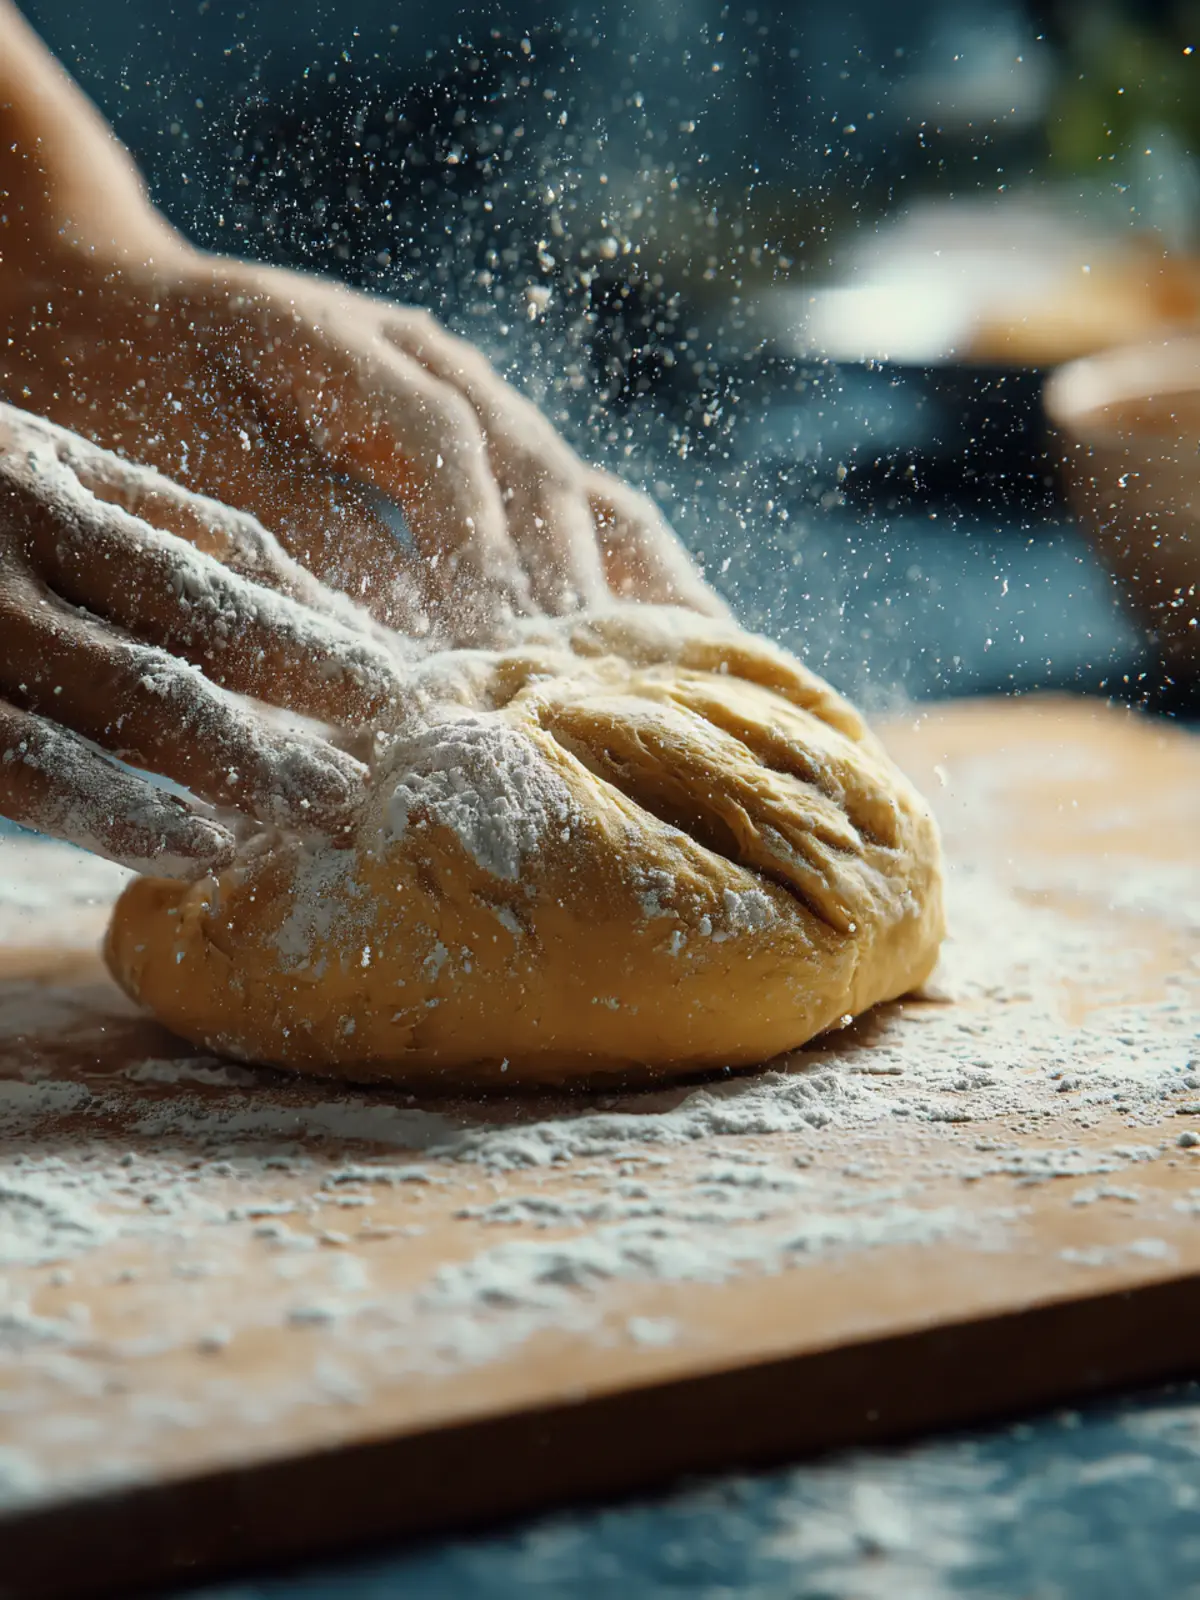
Typically, the kneading process takes about 8 to 10 minutes. As you knead, you’re working the gluten, which gives your dough that wonderful stretch and texture. Pay attention to how the dough transforms—it should gradually become smooth and slightly tacky but not sticky.
Total Time
From start to finish, allowing time for kneading, resting, and rising, you can expect your overall dough preparation to take about 1 hour and 30 minutes, depending on the specific recipe. It’s an investment of time well worth the delicious results!
Nutritional Information for Dough
When diving into the world of homemade baked goods, understanding the nutritional information for dough helps you create the perfect recipe tailored to your needs. This will ensure that while you’re enjoying your culinary creations, you’re also making informed choices.
Calories
A standard serving of homemade dough typically contains around 200 calories. This can vary based on ingredients, but it’s a good baseline to keep in mind as you plan your meals.
Carbohydrates
You’ll find approximately 40 grams of carbohydrates in a serving of dough. These carbs primarily come from the flour, serving as the main energy source for your body.
Protein
In terms of protein, you can expect about 5 grams per serving. This protein content is essential for muscle repair and growth, making your baked creations a bit more balanced than you might have thought!
By knowing this nutritional information for dough, you can confidently experiment with how to knead dough while still keeping your dietary preferences in check.
FAQs about Kneading Dough
When it comes to kneading dough, understanding a few key concepts can make all the difference between a bakery-quality loaf and a dense, disappointing effort. Here are some frequently asked questions that can guide you in your journey of learning how to knead dough effectively.
What is the windowpane test?
The windowpane test is a classic way to check if your dough has been sufficiently kneaded. To perform this test, take a small piece of dough and gently stretch it between your fingers. If you can stretch it thin enough to see light through without it tearing, your dough is ready! If it tears easily, it needs more kneading. This test helps ensure that gluten has developed properly, which is crucial for the texture of your bread.
How do I know if my dough is properly kneaded?
You’ll know your dough is properly kneaded when it becomes smooth and elastic. An easy indicator is the bounce-back test—press your finger gently into the dough; if it springs back, you’re on the right track! The texture should feel slightly tacky but not overly sticky. If your hands are covered in dough, it may need more kneading.
Can I knead dough by hand or do I need a mixer?
You absolutely can knead dough by hand! Many bakers enjoy the tactile experience of kneading, which allows you to develop a connection with the dough. A mixer can be helpful for larger batches, but don’t shy away from getting your hands into the mix. It often yields a more intimate understanding of the dough’s texture and consistency. Whether you choose a mixer or your hands, the goal remains the same: developing that gorgeous gluten network.
Conclusion on Dough Kneading Techniques
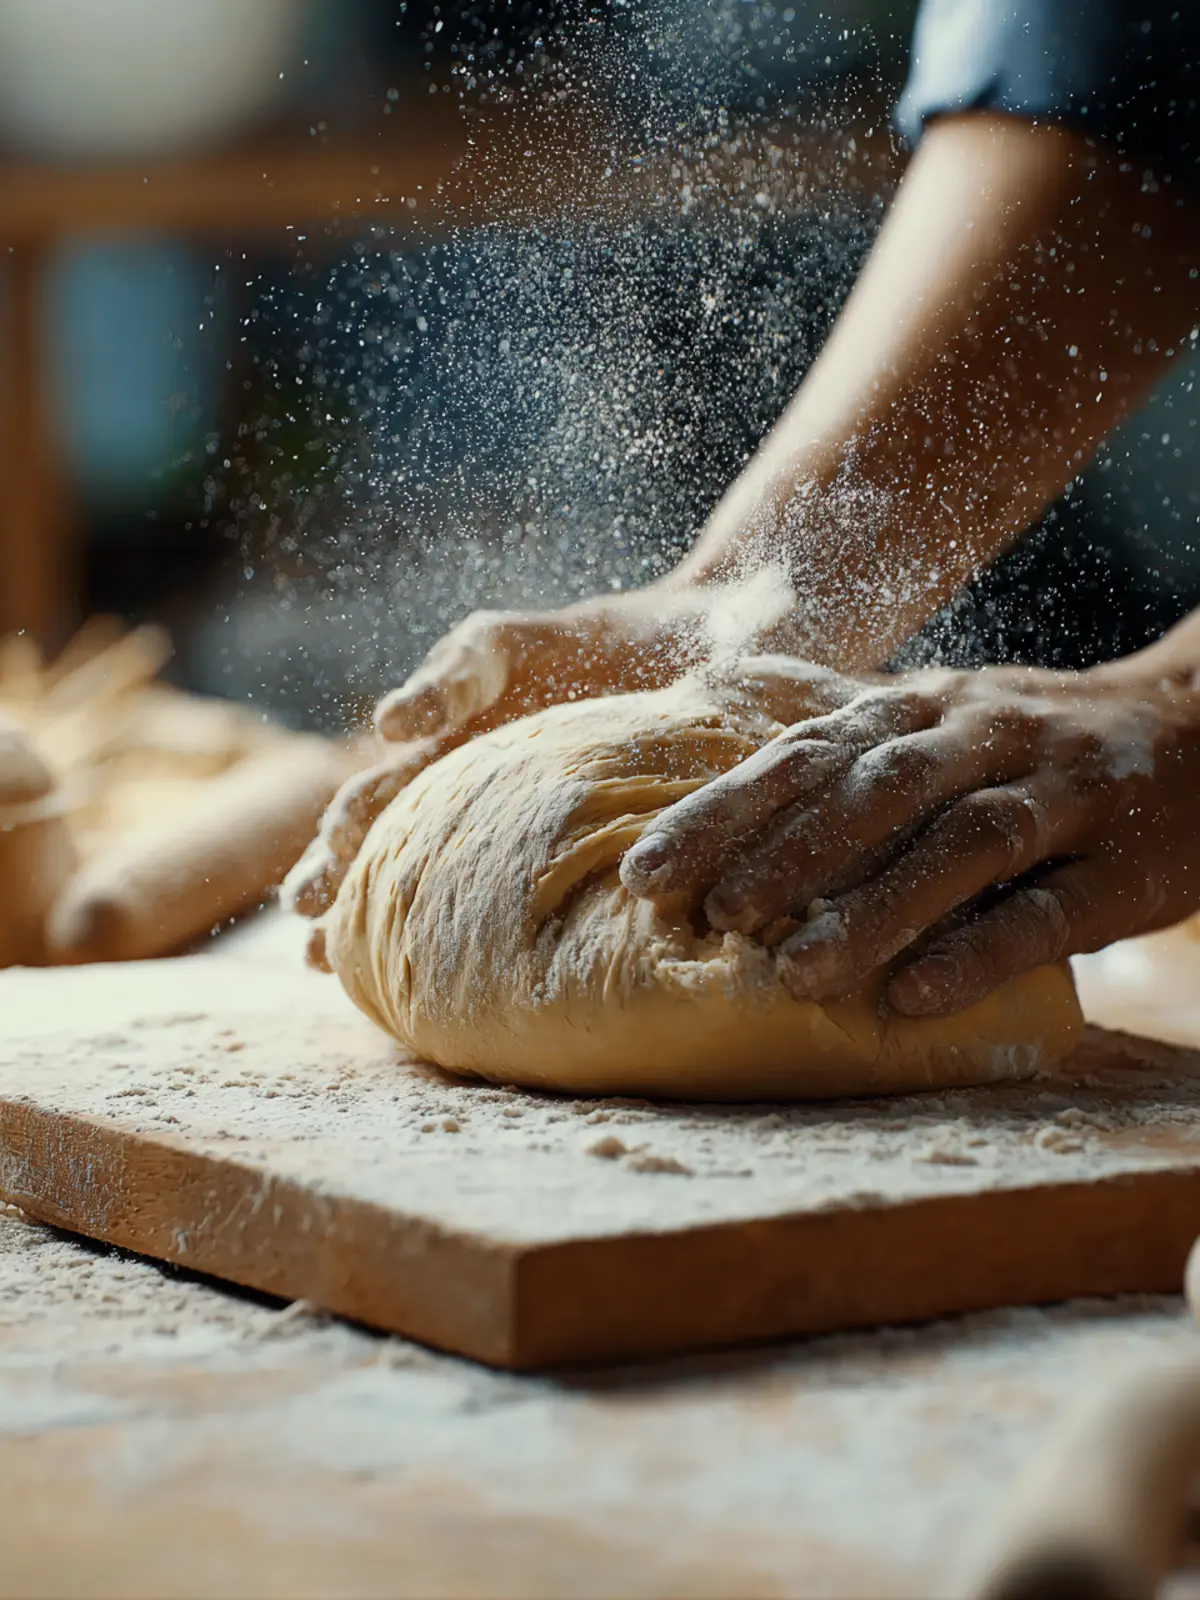
Mastering the art of how to knead dough can significantly elevate your baking skills, transforming simple ingredients into a delicious masterpiece. Remember, the key to perfectly kneaded dough lies in understanding the balance of pressure and timing. Whether you’re using the classic stretch-and-fold method or the French fold, patience is vital. My own journey with dough started as a curious endeavor, and now it’s a cherished ritual. Take your time, listen to your dough, and soon you’ll find that baking becomes not just a task but a delightful experience. Happy kneading!
Print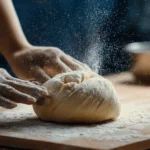
Yeast Dough
- Total Time: 15 minutes
- Yield: 1 batch 1x
- Diet: Vegetarian
Description
A simple recipe for making yeast dough that’s perfect for various baked goods.
Ingredients
Scale
- 1 batch yeast dough
- 1 – 2 tablespoons flour for dusting surface (if needed)
Instructions
- Lightly flour a clean countertop. Place the dough onto the surface.
- Using the heel of your hand, push the dough away from you in one smooth motion.
- Fold the dough back over itself toward you.
- Rotate the dough a quarter turn.
- Repeat the push, fold, and turn motion for 8–12 minutes, or until the dough becomes smooth and elastic.
- Test the dough using the windowpane test. Stretch a small piece of dough between your fingers. If it stretches thin without tearing, it is properly kneaded.
- Attach the dough hook to your mixer. Mix the dough on medium-low speed.
- Knead for 5–8 minutes (or as directed by the recipe), stopping occasionally to check the texture. The dough should pull away from the sides of the bowl and feel soft and elastic.
- Perform the windowpane test to confirm gluten development.
Notes
- Ensure all ingredients are at room temperature for best results.
- You can adjust the amount of flour used for dusting according to your preference.
- Prep Time: 15 minutes
- Category: Baking
- Method: Mixing and Kneading
- Cuisine: Global
Nutrition
- Serving Size: 1 batch