Follow Me On Social Media!
Mini Fruit Tarts: Easy, Colorful & Irresistibly Delicious!
Introduction to Mini Fruit Tarts: Easy, Colorful & Delicious Dessert Recipe
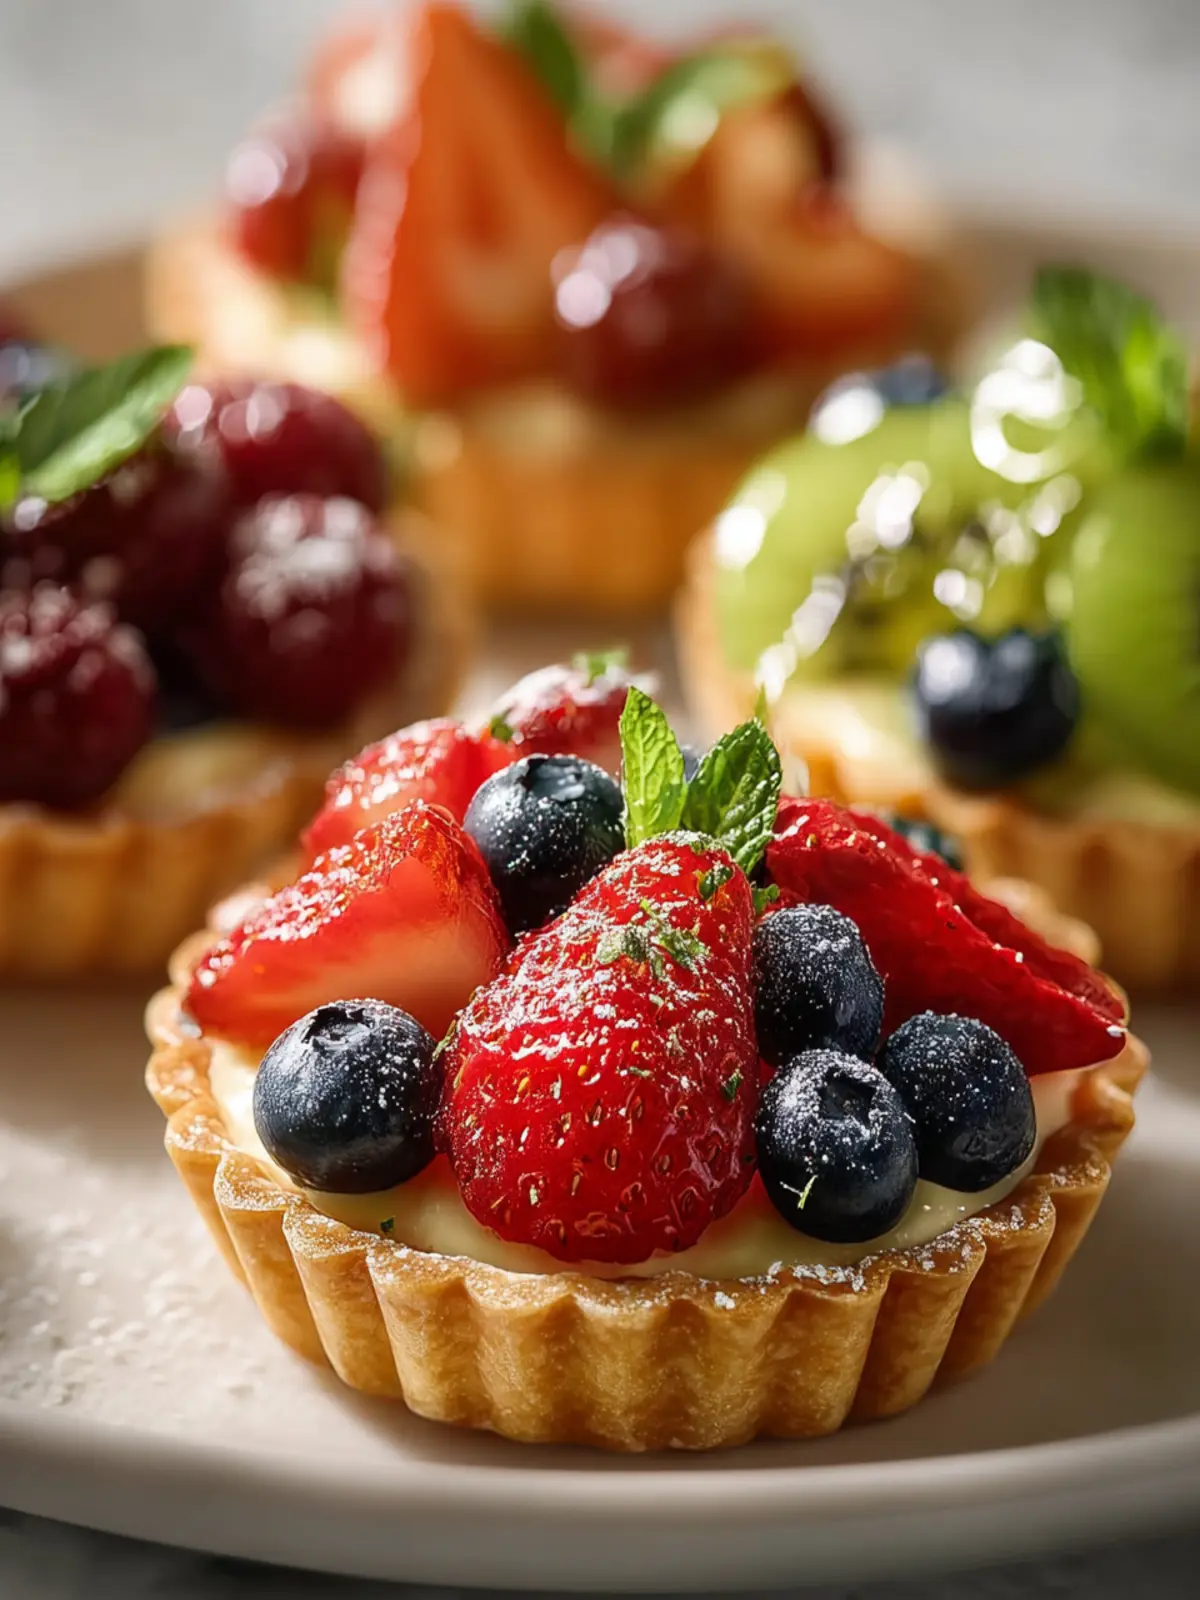
Mini fruit tarts stand out as the quintessential dessert for those who cherish both visual appeal and delightful flavors. Imagine a crisp pastry shell cradling a velvety filling and topped with an array of vibrant fruits—this is not just a dessert; it’s an invitation to indulge in a bite-sized celebration! Whether you’re hosting a brunch, celebrating a birthday, or simply treating yourself after a long day, mini fruit tarts elevate the occasion with their colorful presentation and delicious taste.
As someone who has a penchant for desserts that are as fun to make as they are to eat, I find joy in crafting each mini tart with a creative flair. They can be customized to match the changing seasons, using fruits that are fresh and juicy at any given moment, which not only enhances flavor but also makes your dessert table pop with color. Think strawberries, kiwis, blueberries, and citrus slices arranged artfully on top of a creamy filling—who could resist that?
What makes mini fruit tarts a delightful choice?
-
Versatile & Adaptable: You can easily swap out fruits depending on availability or personal preference. This opens endless possibilities for flavors and textures. Picking your favorite fruits or trying a new combination can make each baking session an exciting adventure.
-
Perfect for Sharing: Their small size means they’re just right for parties or gatherings. Guests can mingle while delighting in these sweet bites without the guilt of overindulging.
-
Almost No-Bake: The beauty of mini fruit tarts lies in their simplicity. You can bake the pastry crusts ahead of time and fill them when you’re ready to serve. This ease allows you to enjoy more time with family and friends instead of being tied to the kitchen.
As you embark on this delightful journey of creating mini fruit tarts, keep in mind that every tart tells a sweet story, one for each colorful topping you choose. Let’s dive into the ingredients that will help you create these scrumptious treats!

Key Ingredients for Mini Fruit Tarts
Creating mini fruit tarts offers a delightful opportunity to combine colors and flavors, turning a simple dessert into an eye-catching treat. Each component plays a crucial role in crafting these whimsical bites.
Pastry Dough: A buttery, flaky pastry forms the base of each tart. I recommend using a simple pie crust or shortcrust pastry for its ease and flavor. If you’re in a pinch, store-bought options work beautifully too.
Pastry Cream: Rich and creamy, this filling is a game-changer for mini fruit tarts. Made from milk, eggs, sugar, and vanilla, it brings a luscious texture that pairs perfectly with the fresh fruit.
Fresh Fruit: The stars of the show! Opt for seasonal fruits like strawberries, kiwi, and blueberries to brighten up your tarts. They add not only a burst of color but also a refreshing taste.
Glaze: A simple apricot glaze brushed on the fruit adds shine and a touch of sweetness, enhancing the overall appeal of these delightful desserts. It helps to keep the fruits looking fresh too!
By focusing on these ingredients, you’ll craft mini fruit tarts that are not only beautiful but irresistibly delicious.
Why You’ll Love These Mini Fruit Tarts
Imagine a sun-drenched picnic, where colorful mini fruit tarts steal the spotlight, bringing a pop of joy to your afternoon snack. These delightful desserts are not only a feast for the eyes but also a treat for the taste buds, filled with flavor and freshness.
These mini fruit tarts are incredibly versatile, making them perfect for any occasion—whether it’s a casual gathering, a fancy brunch, or a simple dessert after a cozy dinner. Here’s why you’ll adore them:
-
Fresh Ingredients: Using seasonal fruits ensures a burst of freshness in every bite. Each tart becomes a vibrant canvas that showcases a beautiful mix of colors and flavors, from sweet strawberries to tangy kiwi.
-
Easy to Make: The simple crust and filling come together quickly, making these tarts a no-stress recipe. Even if you’re a kitchen novice, you’ll impress everyone with your creations!
-
Customizable: Feel free to mix and match your favorite fruits or add a glaze for that extra touch. You can tailor these tarts to suit your personal taste or dietary needs.
-
Impressive Presentation: With their petite size and artistic flair, these tarts add an elegant touch to any dessert spread, making you feel like a pro baker.
Dive into this recipe, and you’ll see why mini fruit tarts are bound to become your new favorite dessert!

Tips for Making Perfect Mini Fruit Tarts
Crafting delicious mini fruit tarts can be a delightful journey. Each tart is a tiny canvas, ready to be adorned with fruits that burst with flavor and colors. Here are some tips to elevate your tart-making game and ensure they come out perfect every time.
Choose the Right Pastry
The foundation of your mini tarts lies in the pastry. A buttery, flaky shortcrust works wonders, but make sure to chill your dough before rolling it out. This helps prevent shrinkage as they bake and ensures a tender texture.
Fill with Flavor
For the filling, vanilla pastry cream is a classic choice, but don’t hesitate to experiment with flavored creams or even whipped mascarpone. For an added touch of sophistication, consider infusing your pastry cream with lemon zest or vanilla bean.
Fresh and Colorful Toppings
Using fresh fruits not only adds vibrant colors but also brings natural sweetness. Try a mix of strawberries, blueberries, and kiwi for a visually appealing tart. Be sure to cut your fruits uniformly to enhance their presentation.
Glaze for Shine
A simple syrup glaze can make your tarts shine and look professional. After arranging your fruits, brush them with the glaze to give a beautiful finish while simultaneously preventing them from drying out.
By following these tips, you’ll be on your way to impressing friends and family with elegant and mouthwatering mini fruit tarts. Feel free to make them your own and enjoy the process!
Serving Suggestions for Mini Fruit Tarts
Finding the perfect moment to enjoy mini fruit tarts can transform any gathering into a memorable occasion. These little delights not only look stunning but also offer a burst of flavor with each bite. Whether you’re hosting a brunch, celebrating a birthday, or simply treating yourself, here are some serving suggestions that elevate the experience.
Fresh Presentation
Consider arranging your mini fruit tarts on a beautiful platter or tiered stand. This visually appealing display not only showcases the colorful variety of fruits but also invites guests to indulge. Adding a sprinkle of edible flowers can enhance the aesthetic, creating an irresistible focal point.
Pair with Beverages
Serving these tarts alongside refreshing beverages makes them even more enjoyable. Here are some great pairings:
- Iced Tea or Lemonade: The tartness of these drinks complements the sweetness of the tarts perfectly.
- Sparkling Wine: For a celebratory touch, offer a glass of bubbly. The carbonation balances the richness of the tart’s filling.
Garnish for Flair
A few simple garnishes can take your presentation to the next level. Consider:
- Mint Leaves: Fresh mint adds a pop of color and a refreshing note.
- Drizzle of Chocolate or Caramel: A light drizzle enhances the flavor while elevating the visual appeal.
With these serving suggestions, your mini fruit tarts are sure to not only satisfy cravings but also delight the senses at any gathering.

Time Breakdown for Mini Fruit Tarts
Creating these delightful mini fruit tarts is not only rewarding but surprisingly quick! Here’s a handy breakdown to help you manage your time effectively.
Preparation Time
You’ll need about 20 minutes to prepare the tart crust and filling. This involves gathering your ingredients, mixing the crust, and making the custard. It’s a straightforward process that sets the stage for your beautiful tarts.
Chilling Time
Once your crust has been baked, it’s essential to chill it for about 30 minutes. This helps the crust set perfectly, giving it that delightful crunch when you take your first bite.
Assembly Time
The assembly comes next, taking around 15 minutes. This is where the real fun begins! Fill each tart shell with the creamy custard, and then top with your favorite fresh fruits. It’s a chance to get creative!
Total Time
In total, you’re looking at about 1 hour and 5 minutes from start to finish. Perfect for a sweet treat that’s both colorful and delicious!
Nutritional Facts for Mini Fruit Tarts
When indulging in mini fruit tarts, it’s always nice to keep an eye on the nutritional benefits they pack in their delightful little packages. Each tart is a balance of taste and nutrition that can brighten your day!
Calories
A typical mini fruit tart contains about 150-200 calories, depending on the ingredients and portion sizes. This makes them an enjoyable treat that won’t completely derail your diet.
Protein
While mini fruit tarts are not a high-protein snack, each tart offers around 2-4 grams of protein. This can come from the crust, especially if you choose to incorporate nuts or yogurt in your recipe.
Sugar
On average, you’ll find about 10-15 grams of sugar in each mini fruit tart, primarily from the fruits and any additional sweeteners used. The fresh fruits add natural sweetness, making them a better alternative to heavier desserts.
With a little mindfulness regarding portions, these delightful treats can fit nicely into a balanced diet while satisfying your sweet tooth!
FAQs About Mini Fruit Tarts
Creating delightful mini fruit tarts can spark joy at any gathering, but it’s natural to have some questions along the way. Here’s a collection of frequently asked questions that can help guide you through your baking adventure.
Can I use frozen fruit for these tarts?
Absolutely! While fresh fruit offers the best flavor and texture, frozen fruit can also work well for your mini fruit tarts. Just make sure to thaw and drain any excess liquid to avoid a soggy tart. This will help maintain that perfect crunchy crust!
How do I store leftover mini fruit tarts?
Storing your mini fruit tarts is easy, but keep in mind that they’re best eaten fresh. If you have leftovers, place them in an airtight container in the refrigerator. They should stay good for about 2-3 days. However, the longer they sit, the softer the crust may become.
What if I can’t find mini phyllo shells?
No mini phyllo shells? No problem! You can easily use pre-made tart shells or even create your own from scratch using pie dough. Simply roll out the dough and cut it into small circles to fit a muffin tin, then bake until golden for your mini fruit tarts.
Can I make the pastry cream in advance?
Yes, you can! Making the pastry cream ahead of time is a fantastic way to save yourself some effort. Simply prepare the cream, let it cool, and store it in an airtight container in the refrigerator for up to 2 days. Just be sure to give it a good stir before you fill the mini fruit tarts!
Enjoy your baking journey, and don’t hesitate to experiment with different fruits and fillings!
Conclusion on Mini Fruit Tarts
Creating mini fruit tarts is not just about following a recipe; it’s about experiencing the joy of baking and the delight of sharing something beautiful with others. These colorful tarts are perfect for any occasion, whether it’s a casual gathering or a more sophisticated dinner party. With only a handful of ingredients, you can easily whip up a batch that impresses.
Remember, feel free to customize the fruit topping to suit your tastes or what’s in season. Next time you’re craving a dessert that’s as delightful to look at as it is to eat, consider these vibrant mini fruit tarts. They’re not just a treat for the palate but also a feast for the eyes!
Print
Mini Fruit Tartlets
- Total Time: 4 hours 40 minutes
- Yield: 12 tartlets 1x
- Diet: Vegetarian
Description
Delicious mini fruit tartlets filled with creamy pastry cream and topped with fresh fruit.
Ingredients
Scale
- 2 cups whole milk
- 4 large egg yolks
- ½ cup granulated sugar
- ¼ cup cornstarch (or all-purpose flour)
- 1 teaspoon vanilla extract (or non-alcoholic vanilla bean paste)
- ready-made mini phyllo shells or pre-baked shortbread tartlet shells
- ¼ cup apricot jam or apple jelly
Instructions
- In a medium saucepan, gently heat 2 cups whole milk over medium heat until it just begins to simmer around the edges.
- While the milk is heating, in a separate bowl, whisk together 4 large egg yolks, ½ cup granulated sugar, and ¼ cup cornstarch (or all-purpose flour) until the mixture is pale yellow and smooth.
- Once the milk is hot, slowly temper the egg mixture by gradually whisking about half of the hot milk into the egg yolk mixture.
- Pour the tempered egg mixture back into the saucepan with the remaining hot milk.
- Return the saucepan to medium heat and whisk continuously until the mixture thickens considerably and comes to a gentle boil, bubbling for about 1 minute.
- Remove from heat and stir in 1 teaspoon vanilla extract (or non-alcoholic vanilla bean paste).
- Pour the pastry cream into a clean, shallow bowl. Press a piece of plastic wrap directly onto the surface of the cream to prevent a skin from forming as it cools.
- Refrigerate for at least 3-4 hours, or preferably overnight, until completely chilled and firm.
- If using pre-baked store-bought mini phyllo or shortbread shells, simply arrange them on a serving platter or a baking sheet.
- If you’ve made homemade shells, ensure they are fully cooled before proceeding.
- Gently wash all your chosen fresh fruits (e.g., strawberries, blueberries, raspberries, kiwi, mandarin segments).
- Pat them thoroughly dry with paper towels.
- Hull strawberries and slice them as desired – halves, quarters, or thin slices work well for decorative purposes.
- Using a small spoon or a piping bag fitted with a round tip, fill each tart shell with the chilled and re-whisked pastry cream.
- Arrange your prepared fresh fruit decoratively on top of the pastry cream.
- In a small microwave-safe bowl, warm about ¼ cup apricot jam or apple jelly for 10-20 seconds until it becomes more liquid.
- Strain the warmed jam or jelly through a fine-mesh sieve to remove any fruit bits or lumps.
- Using a small pastry brush, gently brush a thin layer of the warm glaze over the arranged fruit on each tart.
- Once assembled, refrigerate for at least 30 minutes before serving.
Notes
- Ensure the tart shells are cool before filling.
- Use a variety of fruits for a colorful presentation.
- Can be made ahead of time and refrigerated until serving.
- Prep Time: 30 minutes
- Cook Time: 10 minutes
- Category: Dessert
- Method: Baking
- Cuisine: American
Nutrition
- Serving Size: 1 tartlet
- Calories: 150
- Sugar: 10g
- Sodium: 50mg
- Fat: 7g
- Saturated Fat: 3g
- Unsaturated Fat: 4g
- Trans Fat: 0g
- Carbohydrates: 20g
- Fiber: 1g
- Protein: 3g
- Cholesterol: 70mg