Follow Me On Social Media!
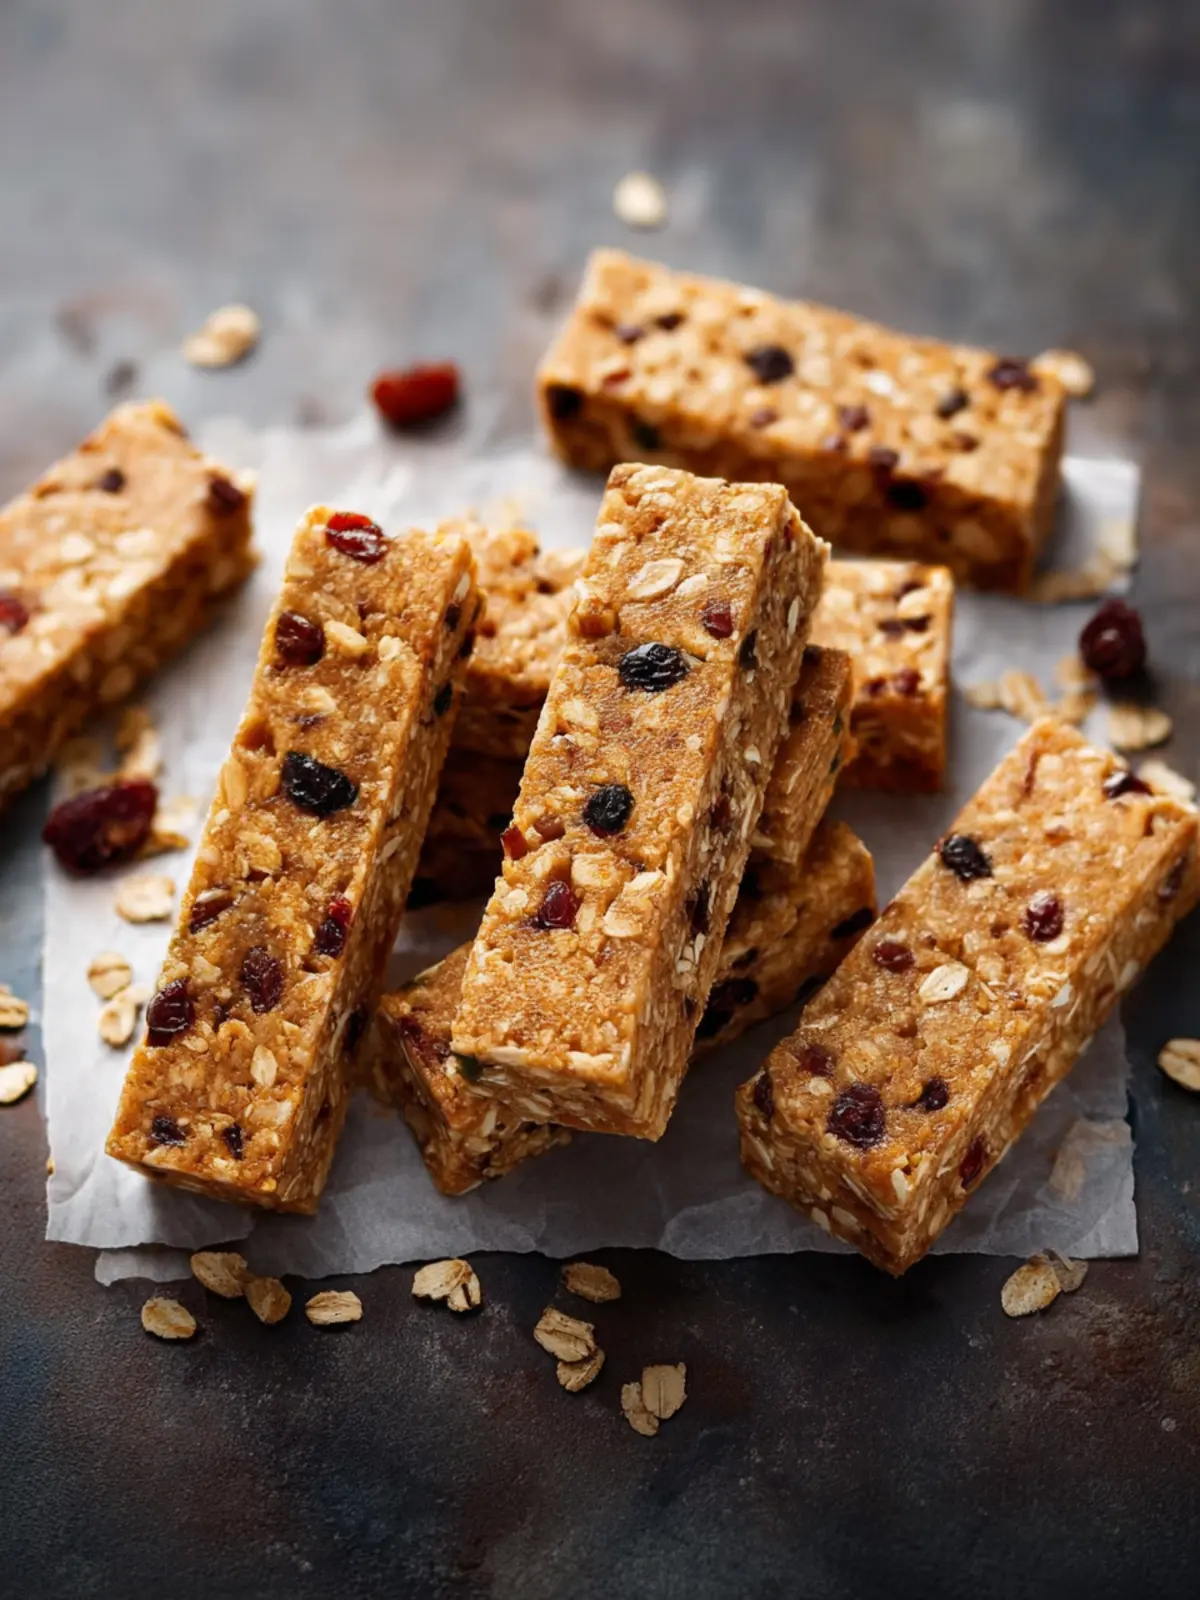
Homemade Gluten-Free Granola Bars You’ll Crave Daily
Introduction to Homemade Gluten-Free Granola Bars
Making homemade gluten-free granola bars can be a delightful journey, transforming simple ingredients into a wholesome, energy-packed snack. Every time I whip up a batch, I’m reminded of cozy weekends spent in the kitchen, blending flavors and aromas that bring back fond memories. Unlike store-bought varieties laden with preservatives and artificial flavors, these homemade treats empower you to control what’s inside, catering to your taste buds and dietary needs.
What Makes Homemade Granola Bars a Go-To Snack?
There are numerous reasons why homemade gluten-free granola bars should be your go-to snack. For one, they are incredibly versatile. You can mix and match ingredients based on your cravings or dietary restrictions, making them suitable for everyone. Here’s a peek into what makes them special:
-
Customization: Want a nut-free bar? Simply swap out almonds for sunflower seeds. Craving sweetness? Add dried fruits like cranberries or apricots. With endless combinations, your bar can be as unique as you are.
-
Healthier Choices: Commercial granola bars often feature added sugars and unhealthy fats. By preparing them at home, you can use nutritious ingredients like oats, honey, and almond butter, ensuring they are both delicious and nourishing.
-
Perfect for On-the-Go: With our busy lifestyles, finding a quick snack can be a challenge. These bars can be made in advance, stored, and taken anywhere—perfect for mid-morning cravings or post-workout fuel.
-
Family-Focused: Involving your family in the process can turn cooking into a fun activity. Kids enjoy mixing, pouring, and, of course, tasting!
In a world where health trends come and go, homemade gluten-free granola bars remain a steadfast choice for quick, tasty, and nutritious snacking. Why not lace up your apron and start creating your own batch? You’ll be amazed at how satisfying it can be to enjoy a snack you made yourself.
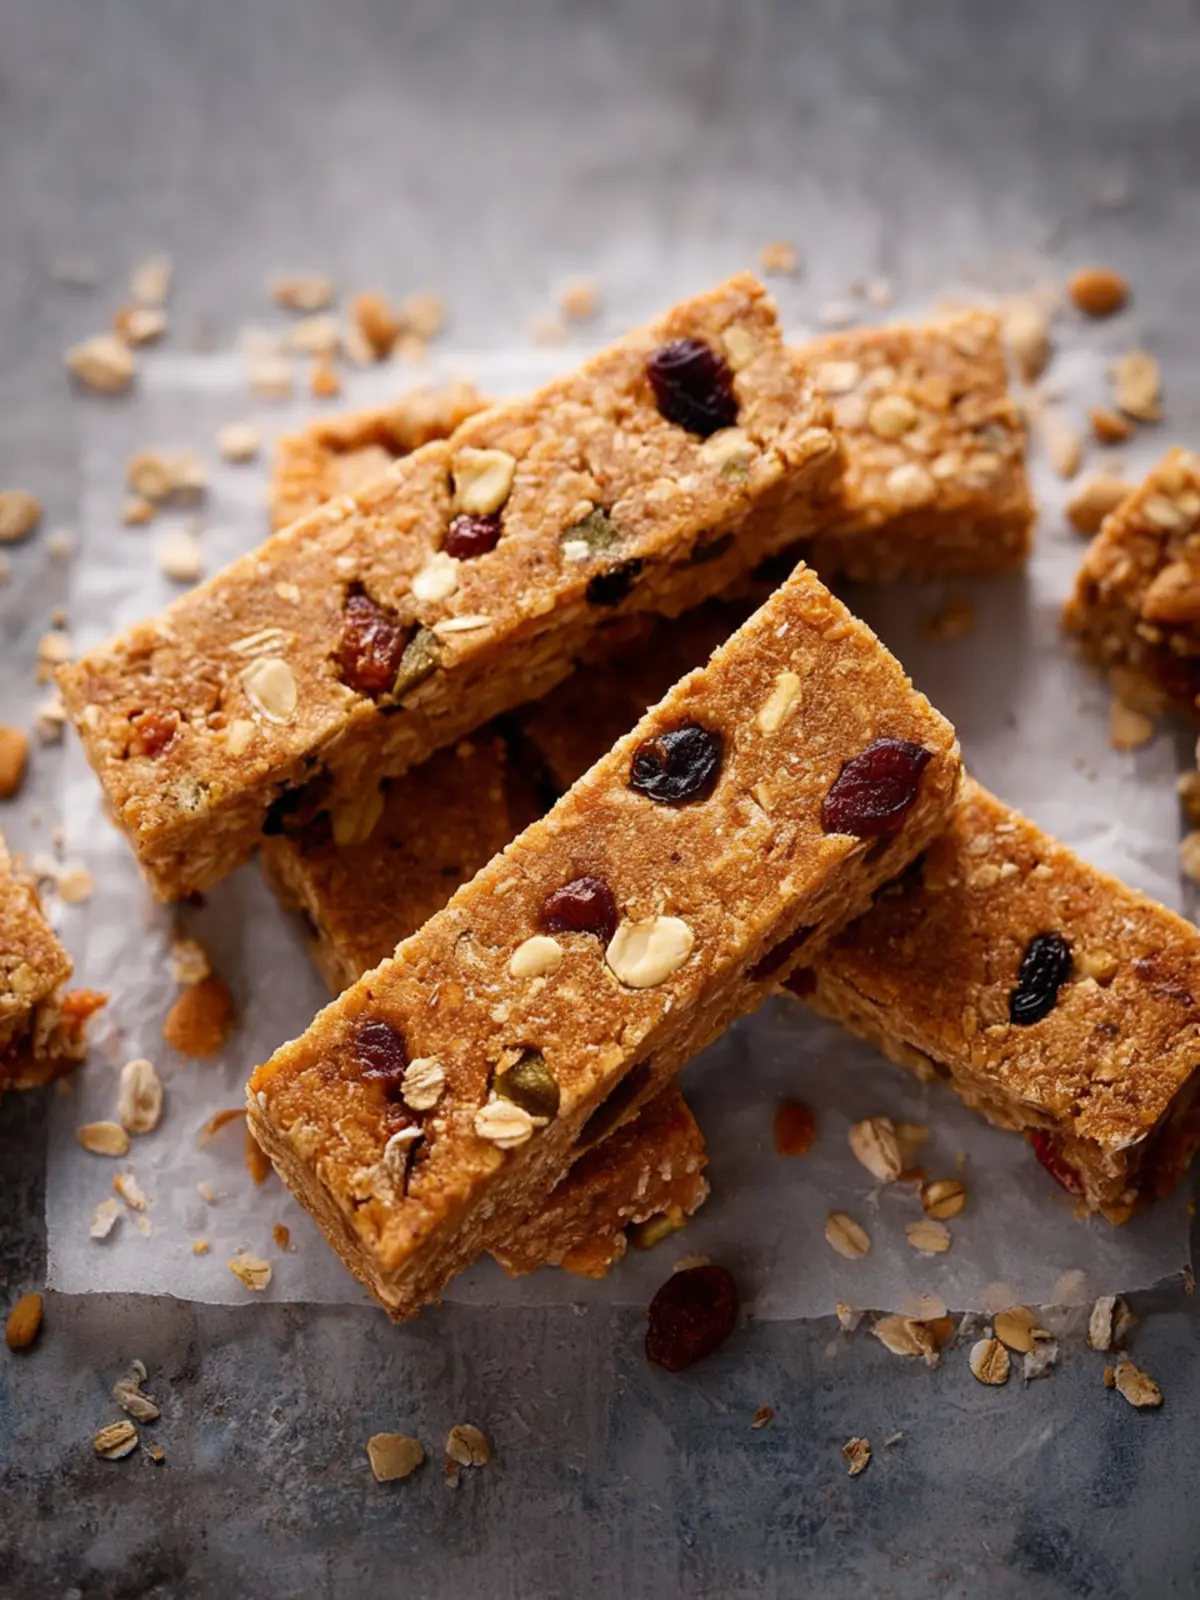
Key Ingredients for Homemade Gluten-Free Granola Bars
Creating homemade gluten-free granola bars is a delightful journey that combines wholesome ingredients for a bite-sized treat bursting with energy. Here are the essential components that make them truly special:
Oats
I opt for certified gluten-free oats because they add the perfect chewy texture and nutty flavor. They act as the main base, holding everything together while being nutritious.
Nuts and Seeds
A medley of your favorite nuts—like almonds, walnuts, or pecans—combined with seeds such as chia or pumpkin seeds not only boosts crunchiness but also packs a protein punch. This adds healthy fats, making the granola bars satisfying and filling.
Sweetener
For sweetness, I lean towards honey or maple syrup. They not only enhance the flavor but also serve as a natural binder, helping the ingredients cling together beautifully.
Nut Butter
I love using almond butter or peanut butter; they provide richness and creaminess, blending the dry ingredients harmoniously and adding a dose of protein.
Flavor Boosters
For that extra zing, I sprinkle in cinnamon or vanilla extract. These flavors elevate the taste profile, making each bite a delightful experience.
With these key ingredients, you’re on your way to creating your perfect homemade gluten-free granola bars. Happy cooking!
Why You’ll Love This Recipe
Creating homemade gluten-free granola bars isn’t just about nourishing your body; it’s a delightful moment of culinary creativity that can easily fit into your busy lifestyle. Imagine coming home after a long day at work and being welcomed by the enticing aroma of baking oats and honey wafting through your kitchen—there’s a comforting love about that.
The best part? These granola bars are not only healthy but can be customized according to your taste preferences. Want a nutty crunch? Toss in some almonds or walnuts. Craving a chocolate fix? Add in dark chocolate chips for a sweet surprise. Having the flexibility to tailor these bars to your liking is like hitting the jackpot on a busy weeknight!
Much more than just a snack, these homemade gluten-free granola bars are perfect for on-the-go breakfasts or a healthy pick-me-up during midday slumps. Packed with nutritious ingredients, they’ll provide sustained energy without the guilt of traditional sugary snacks.
Best of all, making your own granola bars means no more examining confusing ingredient lists; you’ll know exactly what you’re nourishing your body with. Get ready to make a batch today and experience a tasty twist on snacking!
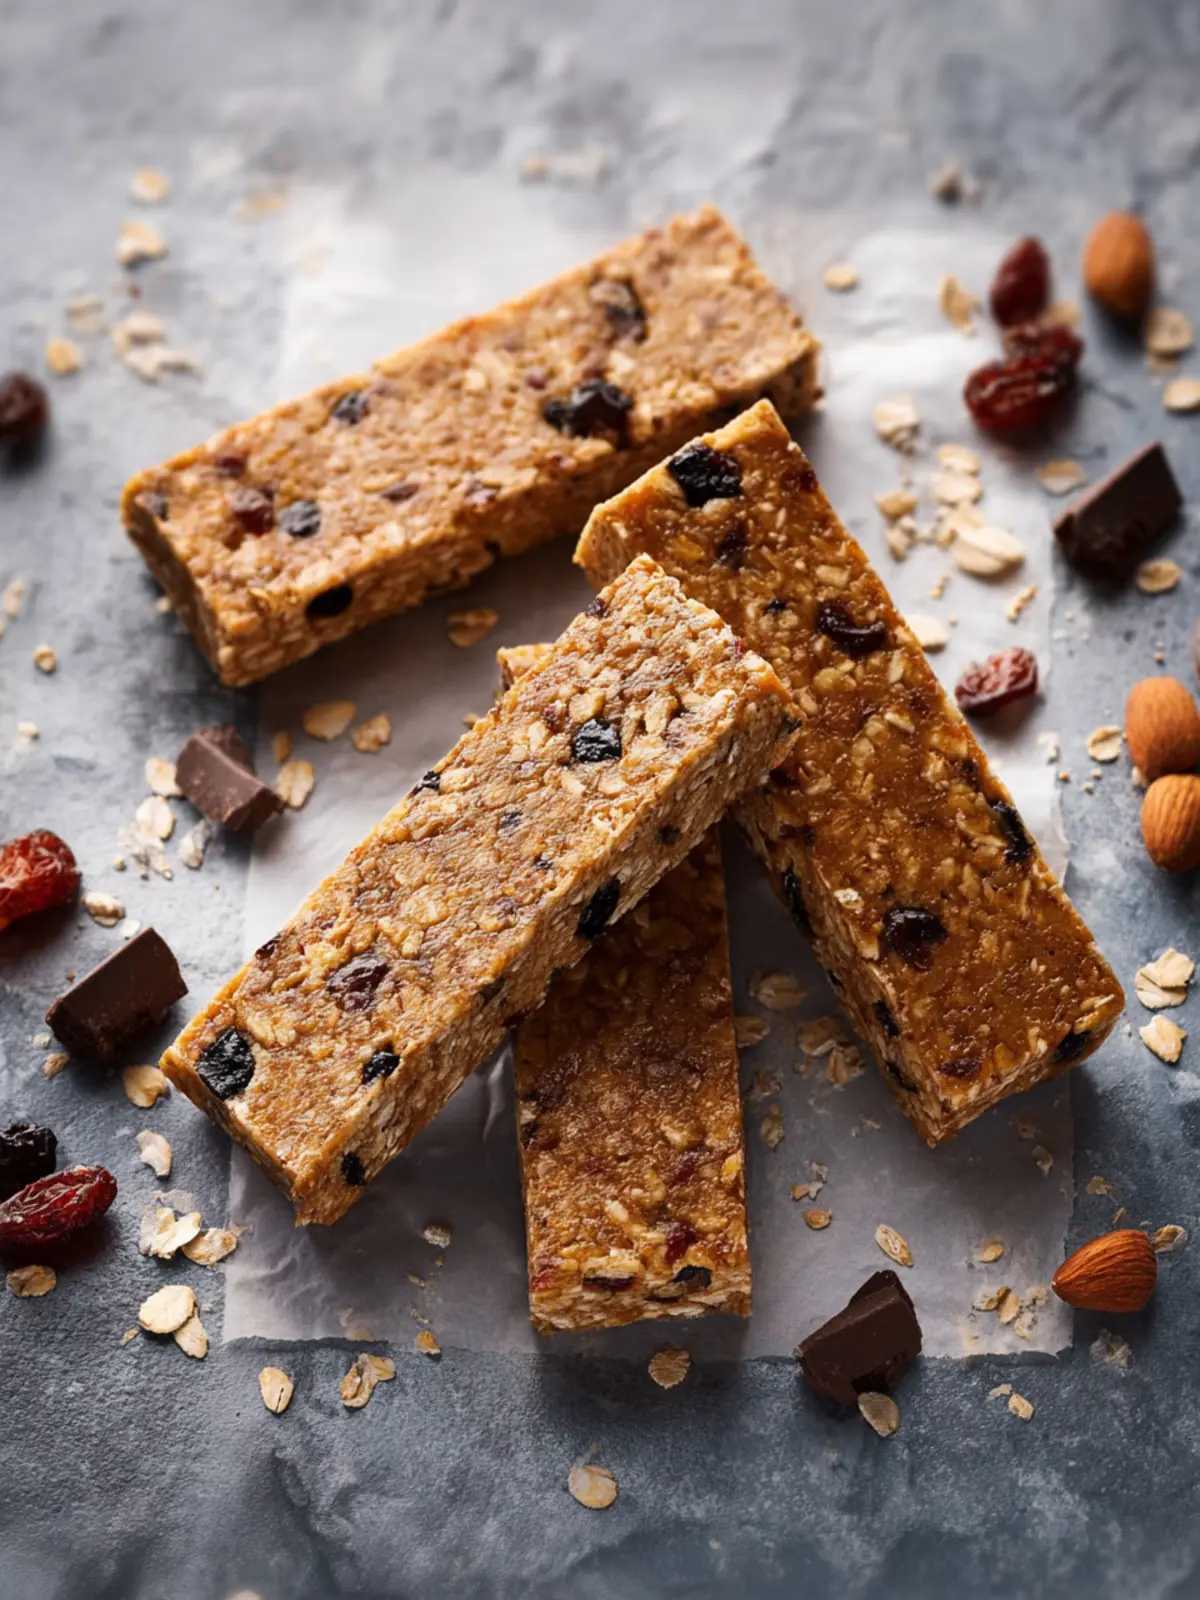
Variations for Homemade Granola Bars
Crafting your own homemade gluten-free granola bars opens up a world of flavors and textures. Why settle for a one-size-fits-all recipe when you can tailor your bars to match your cravings? Here are some delicious variations to consider:
-
Nutty Boost: Swap in your favorite nuts like almonds, pecans, or hazelnuts for extra crunch and protein. Toast them lightly before mixing for a deeper flavor.
-
Fruity Twist: Incorporate dried fruits such as cranberries, apricots, or mango. Make sure they’re unsweetened for a healthier option. They add sweetness without the need for more sugar.
-
Chocolate Indulgence: Stir in dark chocolate chips or cacao nibs for a satisfying chocolate fix. Just a small handful can elevate your bars to another level.
-
Spice It Up: Experiment with spices like cinnamon, nutmeg, or even a touch of cardamom to give your bars a warm, inviting aroma.
-
Coconut Craze: Flaked or shredded coconut not only adds texture but also a delightful tropical flavor. Opt for unsweetened varieties for a healthier choice.
Each variation turns your homemade granola bars into a unique treat that you’ll look forward to enjoying. What will you create first?
Cooking Tips and Notes for Homemade Granola Bars
Creating homemade gluten-free granola bars is a rewarding experience that allows you to control the ingredients and flavors. Here are some practical tips to enhance your granola bar-making journey.
Choose Your Sweetener Wisely
Using the right sweetener is crucial for achieving the perfect texture. I recommend a combination of honey and maple syrup for a balanced sweetness that binds the ingredients together. If you’re looking for a lower glycemic option, consider using agave nectar instead.
Mix Your Nuts and Seeds
Feel free to get creative with the nuts and seeds! Almonds, walnuts, and pumpkin seeds add delightful textures and flavors. Just remember to chop larger nuts into smaller pieces for an even mix. Toasting them lightly before adding to your mix can elevate the flavor even more.
Don’t Skip the Binding Agent
In this recipe, using nut butter is essential. I love using peanut butter for its rich taste, but almond butter or sunflower seed butter works just as well. The nut butter acts as a binder, ensuring your bars don’t crumble apart.
Experiment with Add-ins
Think beyond just nuts and seeds; dried fruits like cranberries or apricots can add a sweet and chewy element that complements the crunch. Just remember not to overload; too many add-ins can make the bars crumbly.
Cut Them Wisely
Once baked, let your homemade gluten-free granola bars cool completely before cutting them. Use a sharp knife for clean edges and to avoid crumbling. If they seem too soft, refrigerate them for a bit to firm up before cutting.
With these tips, you’re well on your way to enjoying perfectly crafted, delicious homemade gluten-free granola bars that you can feel great about!
Serving Suggestions for Homemade Granola Bars
Creating homemade gluten-free granola bars means indulging in a tasty snack that can easily adapt to your lifestyle. Picture yourself on a bright Monday morning, rushing to work while craving something nutritious. That’s when these granola bars come in handy! They provide not only energy but also versatility. Here are a few serving suggestions that elevate these bars into something extraordinary:
-
Pair with Fresh Fruit: Slicing a banana or pairing a handful of berries with your granola bar brings a refreshing touch that’s both nutritious and satisfying.
-
Add a Touch of Nut Butter: A spread of almond or peanut butter on top adds creaminess and an additional protein boost. Try adding a drizzle of honey for some extra sweetness.
-
Make it a Dessert: Crumble a granola bar over a bowl of yogurt, sprinkle some dark chocolate chips, and voila! You have a quick and decadent dessert.
-
Perfect for Meal Prep: Individually wrap your bars for convenience on busy days. These bars stay fresh in the fridge, ready to be enjoyed whenever hunger strikes.
Whatever way you choose to enjoy your homemade gluten-free granola bars, they’re sure to become a staple in your routine!
Time Breakdown for Homemade Granola Bars
Creating your own homemade gluten-free granola bars is not only a delightful experience but also a great way to ensure you control the ingredients. To help you plan, here’s a quick overview of the time involved in whipping up this delicious snack.
Preparation time: Expect to spend about 15-20 minutes gathering and mixing your ingredients. Taking your time here allows you to enjoy the process and ensure everything is well combined.
Chilling time: Once your mixture is spread into the pan, let it cool in the fridge for at least 1-2 hours. This is when the bars will set perfectly, making them easier to cut.
Total time: All in all, including preparation and chilling, you’re looking at around 2-3 hours before you can enjoy your homemade gluten-free granola bars. The wait is worth it for these delicious, nutrient-packed snacks!
Nutritional Facts for Homemade Gluten-Free Granola Bars
Whipping up a batch of homemade gluten-free granola bars not only results in a delicious snack but also allows you to ensure each bite is filled with health benefits. Let’s break down the nutritional perks that come along with this wholesome treat.
Calories
A single serving of these granola bars typically contains around 150-200 calories. This makes them a great option for a quick energy boost without derailing your health goals.
Protein
These delightful bars pack a protein punch, often providing about 4-6 grams per serving. Adding ingredients like nuts or seeds can elevate this even further, helping you feel satisfied longer.
Fiber
With a hearty dose of 2-4 grams of dietary fiber per bar, you’ll be supporting healthy digestion and keeping hunger at bay. The oats and seeds contribute significantly to this fiber content.
Sugars
You might be pleasantly surprised to find that they usually contain around 5-8 grams of natural sugars. By using sweeteners like honey or maple syrup, you maintain flavor while avoiding overly processed sugars.
By enjoying your homemade gluten-free granola bars, you’re reaping the rewards of a nutritious snack!
FAQ about Homemade Gluten-Free Granola Bars
Making homemade gluten-free granola bars is a fantastic way to enjoy a nutritious snack that you can customize to your heart’s content. If you’ve got questions about this delightful treat, you’re in the right place!
Can I customize the add-ins for these bars?
Absolutely! One of the best features of homemade gluten-free granola bars is their versatility. Whether you prefer nuts, seeds, or dried fruits, feel free to mix and match. Try adding:
- Almonds or walnuts for a crunchy texture
- Chia seeds or flaxseeds for extra nutrition
- Dried cranberries or chocolate chips for a touch of sweetness
The possibilities are endless!
What’s the best way to store homemade granola bars?
To keep your homemade gluten-free granola bars fresh, store them in an airtight container. You can keep them at room temperature for up to a week. For longer storage, consider wrapping individual bars in plastic wrap and placing them in the freezer. They can last for several months this way!
How long do these granola bars keep?
If stored properly, your homemade gluten-free granola bars can last up to a week at room temperature. If frozen, they can maintain their deliciousness for up to three months. Just thaw them at room temperature when you’re ready to enjoy.
Can I substitute for the peanut butter?
Definitely! If you’re looking for alternatives to peanut butter, try almond butter, sunflower seed butter, or even cashew butter. Each option will give your homemade gluten-free granola bars a unique flavor while keeping the bars creamy and delightful!
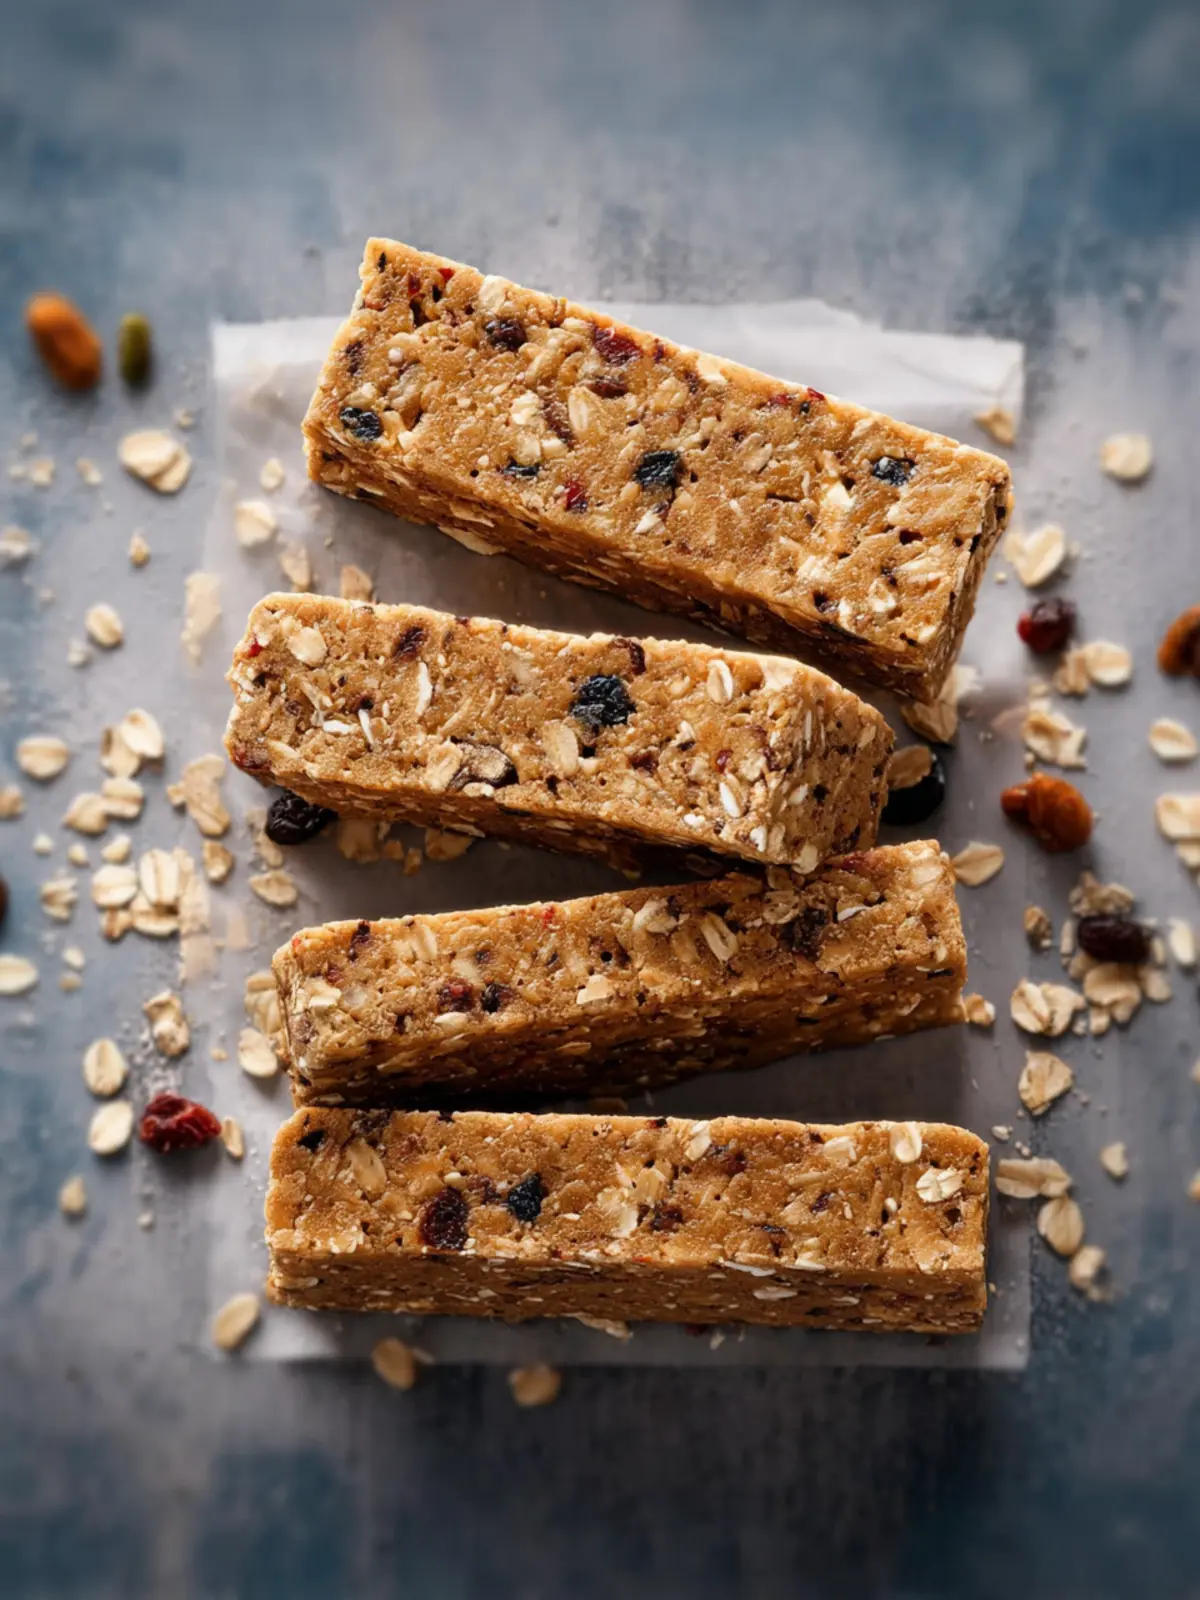
Conclusion on Homemade Gluten-Free Granola Bars
In this journey of crafting the perfect homemade gluten-free granola bars, you’ve not only embraced a healthier snacking option but also learned the art of combining your favorite ingredients into a delicious treat. These bars are not just about nutrition; they tell a story of balance and flavor that fits seamlessly into a busy lifestyle. Whether you’re fueling up for a morning run or looking for an afternoon pick-me-up, these granola bars can easily adapt to your tastes and needs. So go ahead, share them with friends or keep them all to yourself—either way, you’ve created something special. Enjoy the wholesome goodness!
Print
Peanut Butter Oat Bars
- Total Time: 1 hour 15 minutes
- Yield: 12 bars 1x
- Diet: gluten-free
Description
Delicious and easy peanut butter oat bars that are perfect for a quick snack!
Ingredients
Scale
- 1 cup creamy peanut butter
- ⅔ cup honey
- 2 tsp pure vanilla extract
- ½ tsp ground cinnamon
- ¼ tsp salt
- 3½ cups gluten-free quick oats
- ¼ cup gluten-free mini chocolate chips (dairy-free use Enjoy Life mini chocolate chips)
Instructions
- Line an 8-inch by an 8-inch baking pan with parchment paper.
- In a large bowl, stir together the peanut butter, honey, pure vanilla extract, cinnamon, and salt until smooth.
- Add the gluten-free quick oats and mini chocolate chips. Stir until fully combined. The mixture will seem dry at first, but it’ll come together.
- Press the mixture firmly into the pan with your hands or a spatula. Use the back of a ¼ measuring cup to help flatten the mixture.
- Cover with plastic wrap and chill for at least 1 hour, then slice into bars.
Notes
- For a nut-free version, use sunflower seed butter instead of peanut butter.
- Store leftover bars in an airtight container for up to one week.
- Prep Time: 15 minutes
- Category: snack
- Method: no bake
- Cuisine: American
Nutrition
- Serving Size: 1 bar
- Calories: 200
- Sugar: 12g
- Sodium: 85mg
- Fat: 9g
- Saturated Fat: 2g
- Unsaturated Fat: 7g
- Trans Fat: 0g
- Carbohydrates: 25g
- Fiber: 3g
- Protein: 5g
- Cholesterol: 0mg