Follow Me On Social Media!
How to Make Royal Icing: The Best Meringue Powder Method
Introduction to How To Make Royal Icing {Meringue Powder}
How to make royal icing is a skill that can elevate your baking game to new heights. Picture this: you’ve spent hours crafting the perfect batch of cookies or decorating a stunning cake. The final touch? A beautifully smooth, glossy finish that makes your creation truly irresistible. That’s where royal icing, made with meringue powder, comes in. It’s not just any icing; it’s a versatile, reliable, and easy-to-use ingredient that can transform your baked goods into edible art.
The magic of royal icing lies in its unique properties. Unlike buttercreams or fondants, royal icing dries hard, creating a perfect base for intricate designs and decorations. Whether you’re making personalized cookies for a wedding, crafting holiday treats, or simply wanting to give your desserts a professional flair, mastering how to make royal icing with meringue powder will be your go-to technique.
Not only does royal icing provide that professional touch, but it also has a forgiving nature. It can be piped, spread, or brushed on, and its ability to hold its shape makes it ideal for creating delicate flowers, borders, and intricate designs. While you might think that royal icing is a complicated endeavor only best left to seasoned bakers, it’s surprisingly easy once you get the hang of it.
The beauty of using meringue powder is that it allows for a no-fuss approach to achieving that classic royal icing consistency without the need for raw egg whites. Plus, it has a longer shelf life, making it a convenient option for bakers who want to whip up a batch ahead of time.
In the following sections, we will dive deeper into the specific ingredients you’ll need and provide straightforward instructions for creating that perfect royal icing. So, gather your supplies and get ready to impress friends and family with your new-found icing prowess!
The Unique Qualities of Royal Icing
Royal icing stands out for several reasons:
- Hardens Quickly: It dries to a firm consistency, making it ideal for stacking cookies or for more complex decorations.
- Versatile Application: You can use it for flooding cookies, detailing, or as a glue for edible decorations.
- Ease of Use: With the right ingredients and tools, it’s simple to mix and apply, even for beginners.
- Customizable Flavor: Add flavor extracts or coloring to make your royal icing uniquely yours.
Embrace the joy of baking as you learn how to make royal icing, and soon you’ll be creating deliciously beautiful desserts that are sure to wow everyone!

Key Ingredients for How To Make Royal Icing {Meringue Powder}
Meringue Powder: The star of your royal icing show! Meringue powder is an egg white substitute that not only simplifies the process but also adds stability and shine to your icing. Its powdered form makes it easy to incorporate without the fuss of separating eggs. Trust me, once you work with it, you’ll wonder why you didn’t use it sooner!
Powdered Sugar: This is the backbone of your royal icing, providing sweetness and the essential texture. The fine granules dissolve easily, ensuring a smooth finish on your cookies and cakes. Look for high-quality powdered sugar to avoid any clumps that could ruin your masterpiece.
Water: Just a little bit goes a long way. Water helps to hydrate the meringue powder and sugar mixture, creating that perfect consistency. Depending on your desired thickness, you may need to adjust the amount slightly, but start small to avoid making it too runny.
Cream of Tartar: This ingredient is a game-changer for stabilizing your icing. Just a pinch will help your icing hold its shape and prevent it from collapsing, ensuring that your designs remain intact.
These key ingredients work harmoniously to create beautiful, functional royal icing perfect for decorating your baked creations!
Why You’ll Love This Royal Icing Recipe
Imagine crafting beautifully decorated cookies that don’t just taste great but also look like pieces of art. Learning how to make royal icing opens up a world of possibilities in decorating your baked goods, whether it’s a birthday celebration or a festive holiday gathering.
Perfect for Decorating:
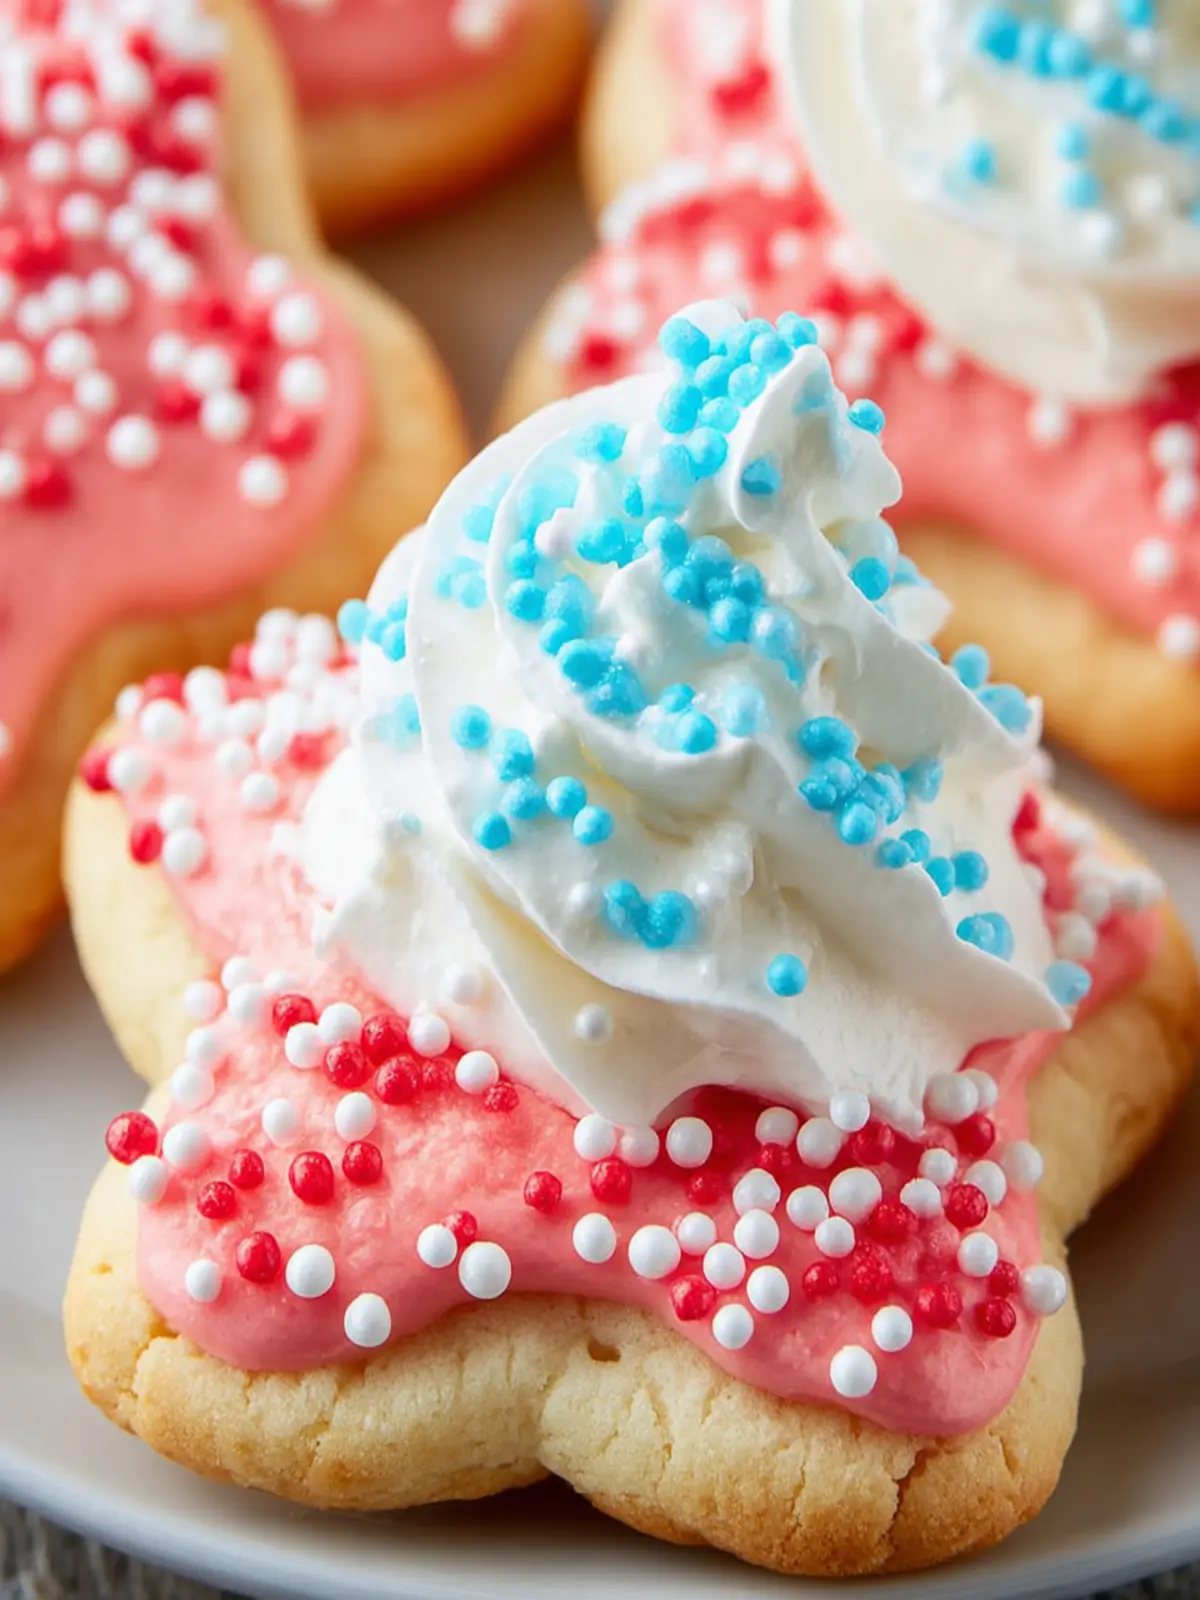
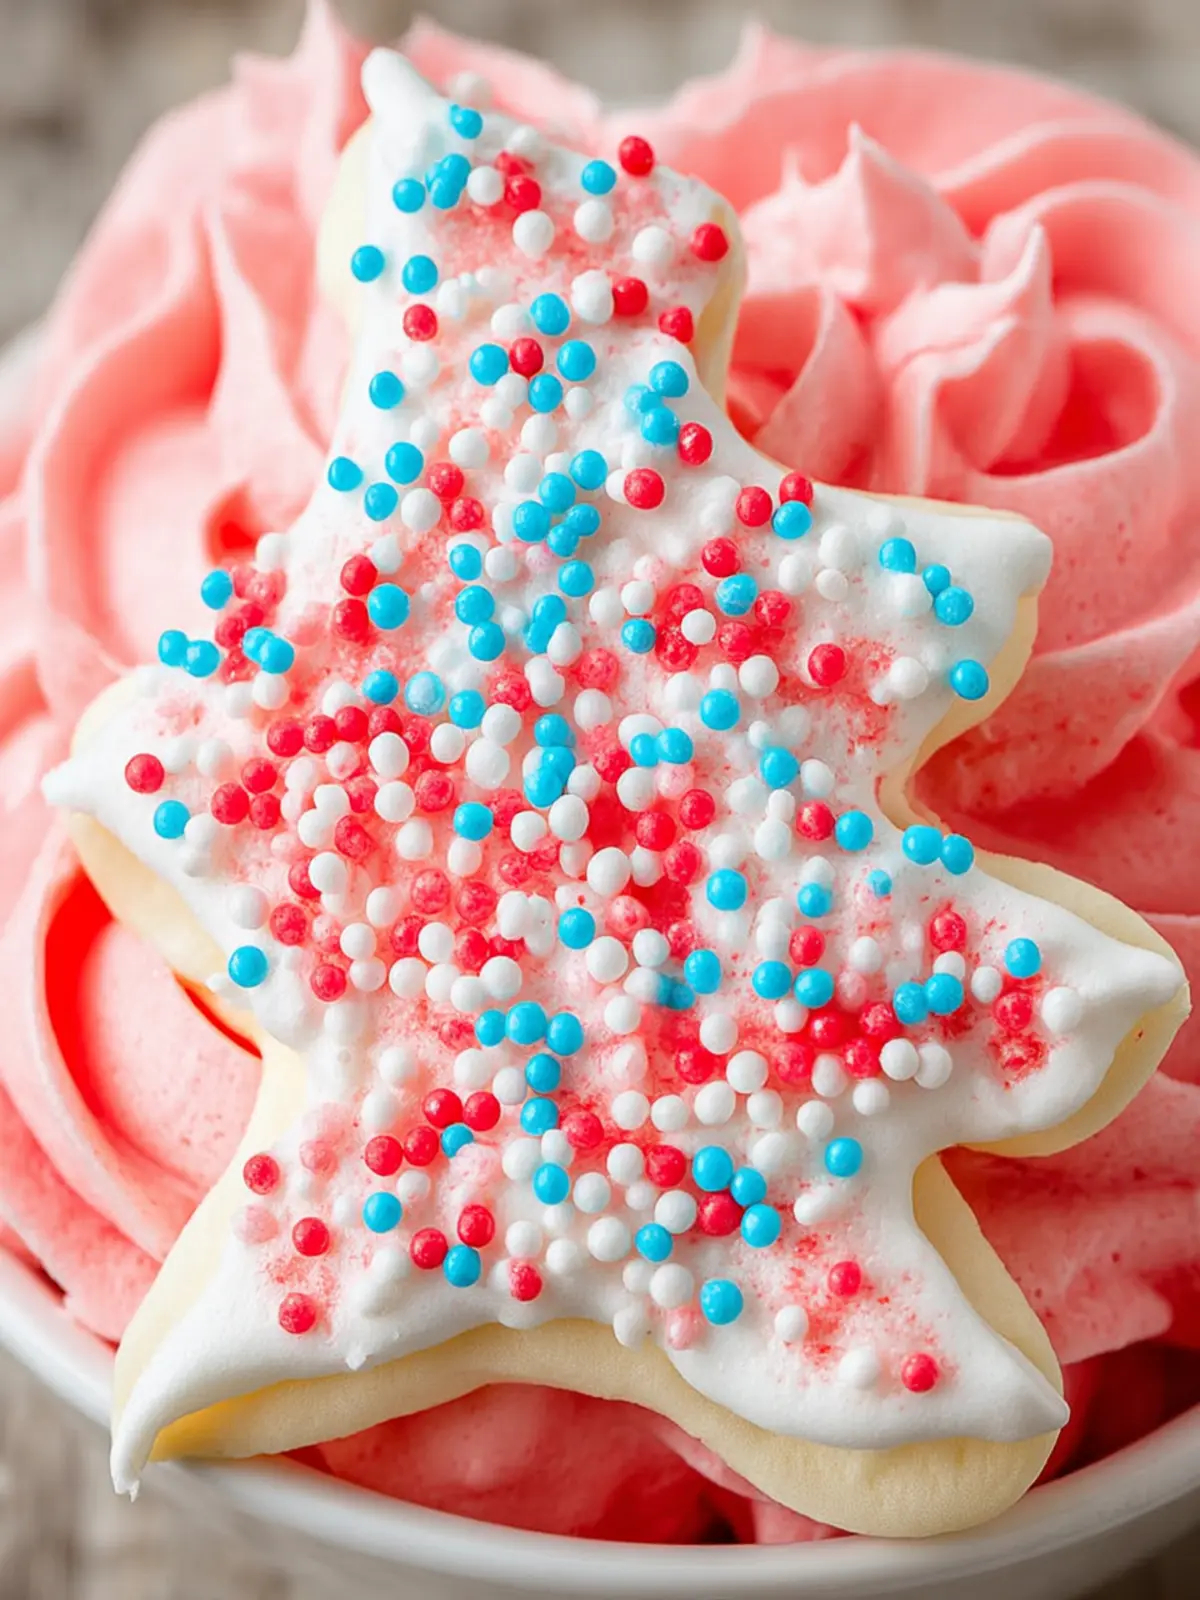
Royal icing has that magical ability to dry hard, which makes it perfect for intricate designs and details, adding a personal touch to every cookie. With this recipe, you’ll have a smooth and shiny finish that can be piped or spread effortlessly, offering a canvas for your creative spirit.
Simple Ingredients with Big Impact:
This royal icing recipe is made with just a few easily accessible ingredients. You’ll be surprised at how a bit of meringue powder, powdered sugar, and water transform into a versatile icing that can hold its shape beautifully. The simplicity of these ingredients means you’ll have everything on hand to whip up a batch whenever inspiration strikes.
Endless Customization:
You can color and flavor your royal icing to match any occasion! Whether you’re using vibrant shades for a festive holiday or pastel hues for a soft baby shower, the options are endless.
In short, once you master how to make royal icing, you’ll not only enhance your baking skills but also create stunning desserts that will impress friends and family.
Tips for Making Perfect Royal Icing
Creating the ideal royal icing is both an art and a science. This magical icing is what gives your cookies that beautiful, glossy finish and allows for intricate designs. To master how to make royal icing, consider these essential tips that will elevate your decorating game.
Use Fresh Ingredients
Just like in any good recipe, using fresh ingredients is crucial. Ensure your meringue powder is not past its expiration date, as stale meringue can affect the texture and stability of the icing. Always opt for high-quality powdered sugar to achieve a smooth finish.
Achieve the Right Consistency
Getting the right consistency is key. For outlining, your royal icing should be thick enough to hold its shape but still flow smoothly. Aim for a consistency similar to that of toothpaste. For flooding (the base layer), thin it down by adding a few drops of water until it’s pourable but still holds a shape briefly.
Beat It Just Right
When mixing your egg whites or meringue powder with water and sugar, keep an eye on your mixing time. Overbeating can lead to dry icing, while underbeating leaves a runny mixture. Aim for a glossy, stiff peak that isn’t dry; this is a sign that you’ve nailed it.
Store Properly
If you find yourself with leftover icing, store it in an airtight container to prevent it from hardening. Cover the surface with plastic wrap, pressing it directly onto the icing, and keep it in a cool, dry place.
Incorporating these tips will ensure that you consistently create delectable, visually stunning royal icing. With practice, you’ll be ready to tackle any cookie decorating project with confidence!
Time Breakdown for Making Royal Icing
Making royal icing is a delightful process that requires a bit of time and attention, but the results are well worth it. Here’s a breakdown of how long it takes to whip up this versatile icing.
Preparation Time
To get started, set aside about 5 minutes for preparation. This includes gathering your ingredients like meringue powder, water, and powdered sugar.
Mixing Time
Once you’re prepped, mixing the elements takes roughly 10 minutes. You’ll want to beat them together until the icing reaches the perfect consistency—smooth yet holdable.
Total Time
In total, you’re looking at just 15 minutes to make royal icing. So whether you’re decorating cookies or cakes, you can dive into your sweet project in no time!

Nutritional Facts for Royal Icing
Creating delicious treats often comes with the enthusiasm of exploring how to make royal icing. It’s not just about the aesthetics of your baked goods—the nutritional content plays a role, too. Here’s a quick glance at what’s in this sweet decoration.
Calories
In one serving of royal icing, you’ll find approximately 40 calories. This makes it a delightful yet light topping for cookies and cakes without overwhelming your daily caloric intake.
Sugar
Royal icing primarily consists of sugar, contributing about 9 grams per serving. It’s this sugar that gives it that characteristic sweetness and glossy finish, perfect for adorning your baked creations.
Sodium
Worried about sodium? Fear not! Royal icing contains about 5 milligrams of sodium per serving, making it a low-sodium option for your decorating needs. This makes a lovely complement to the richer flavors of your baked goods without the saltiness.
Whether you’re crafting intricate designs or simply adding a touch of class to your cookies, understanding the nutritional facts helps you enjoy your treats mindfully!
FAQs about Royal Icing
When you’re diving into the world of decorating with royal icing, questions often pop up, making the journey a bit daunting. Understanding how to make royal icing can ease some of those uncertainties as you embark on this sweet adventure.
Can I use raw egg whites instead of meringue powder?
While you can use raw egg whites, meringue powder is a safer and more convenient option for making royal icing. It eliminates the risk of salmonella and ensures consistent results. If you decide to go the raw egg route, be sure to pasteurize them first for safety.
How long does royal icing last?
Royal icing can be a bit of a time traveler! When stored properly in an airtight container or zip-top bag, it can last up to two weeks at room temperature. However, if you want to keep it longer, feel free to store it in the refrigerator for about a month. Just remember to re-whip before use, as the texture may change over time.
Can I color my royal icing?
Absolutely! Coloring royal icing can turn your treats into stunning works of art. Gel food coloring is the best choice to keep the icing from becoming too runny. Start with a small amount and mix it in gradually until you achieve your desired shade. Just remember, the color will deepen slightly as it dries, so don’t go too bold at first!
Armed with these answers, you’re now better equipped to tackle your royal icing projects with confidence!
Conclusion on How To Make Royal Icing
Creating royal icing with meringue powder is a delightful experience that opens up a world of decorating possibilities. The beauty of this icing lies in its smooth finish and versatility, making it perfect for intricate designs and festive treats. As you’re mastering how to make royal icing, remember that achieving the right consistency is key—airy yet stiff enough to hold its shape.
Whether you’re icing holiday cookies or crafting stunning cake decorations, having this recipe at your fingertips ensures that every creation is not just beautiful, but also delectable. Embrace your creativity, and happy decorating!
Print
Royal Icing
- Total Time: 15 minutes
- Yield: 2 cups 1x
Description
A versatile icing used for decorating cakes and cookies.
Ingredients
Scale
- 1 1/2 tbsp Meringue powder
- 3 tbsp Warm water (Not hot)
- 1/2 tbsp Light corn syrup
- 2 cups Powdered sugar
- 1 tsp Vanilla extract
Instructions
- In a deep bowl, add meringue powder and warm water.
- Beat this for about 1 minute until you have a white and frothy mixture.
- Add powdered sugar, corn syrup, and vanilla extract and start mixing at medium to medium-high speed.
- Continue mixing until your icing becomes thick and peaks start forming. This usually takes about 5 minutes of mixing at high speed.
- This icing is at the “thick consistency stage.” You can add some water to thin it out if you need your icing to be thinner. Please remember that a little water goes a LONG way. Add only 1/4 tsp of water at a time and make sure to mix properly again.
- You can now color your icing with gel colors. If you want a pure bright white icing, then I highly recommend adding white gel food coloring.
- Mix with a spoon until the color is fully blended into your icing.
- The color of your icings will get deeper and better the longer they sit.
- This icing dries very quickly, if exposed to air. Make sure you store it in a sealed container with a tight lid and cover container tightly in saran wrap.
Notes
- This icing can be thickened or thinned according to your needs.
- Keep the icing covered to avoid drying out.
- Prep Time: 15 minutes
- Category: Desserts
- Method: Mixing
- Cuisine: American